Crafting instructions or how to make a leporello yourself
Christmas, Valentine’s Day and Easter are over, but there are always different other occasions. A small but warm gesture of attention will please anybody, especially if it is self-made.
A good and always personal idea is the Leporello. You can make these yourself and provide them with a variety of interesting pictures. Make a few copies with universal themes. So you are ready for spontaneous occasions.
Making Leporello is just the beginning of a beautiful DIY project
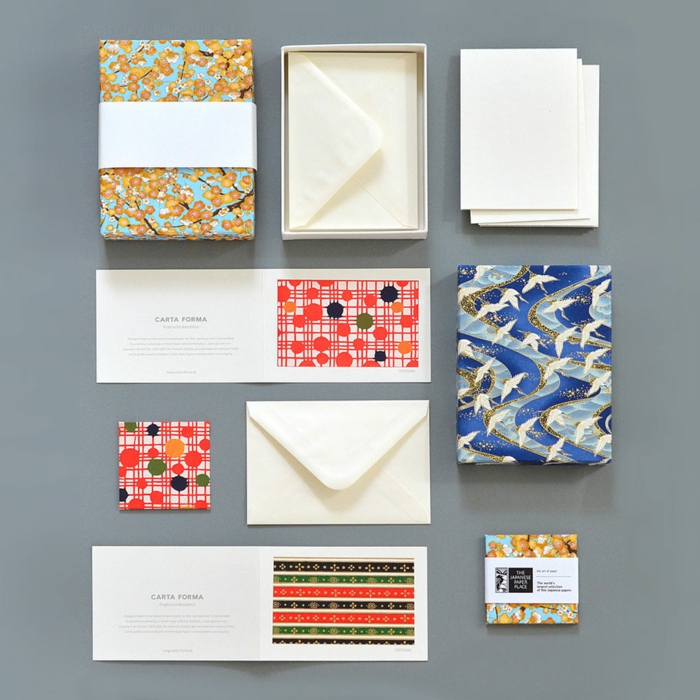
We love it colorful!
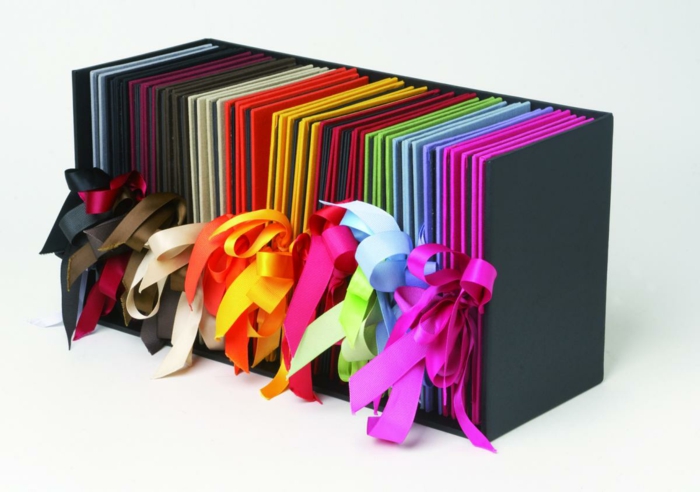
The cool accordion effect
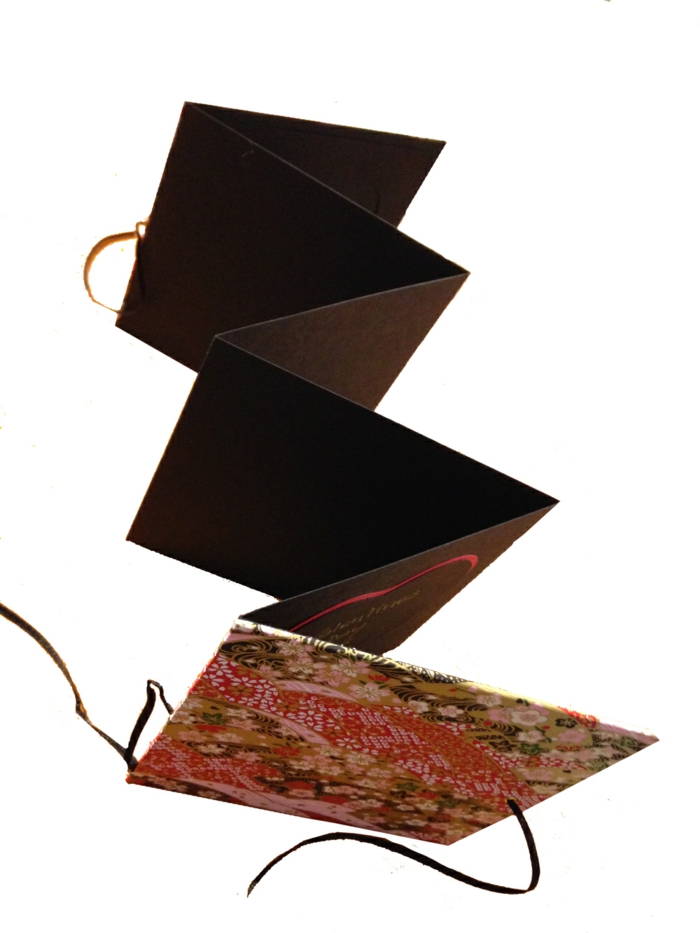
In addition, you practice this in the technique. After that you can easily create something new.
Would you like to get a simple tutorial on how to make a Leporello? Just keep reading!
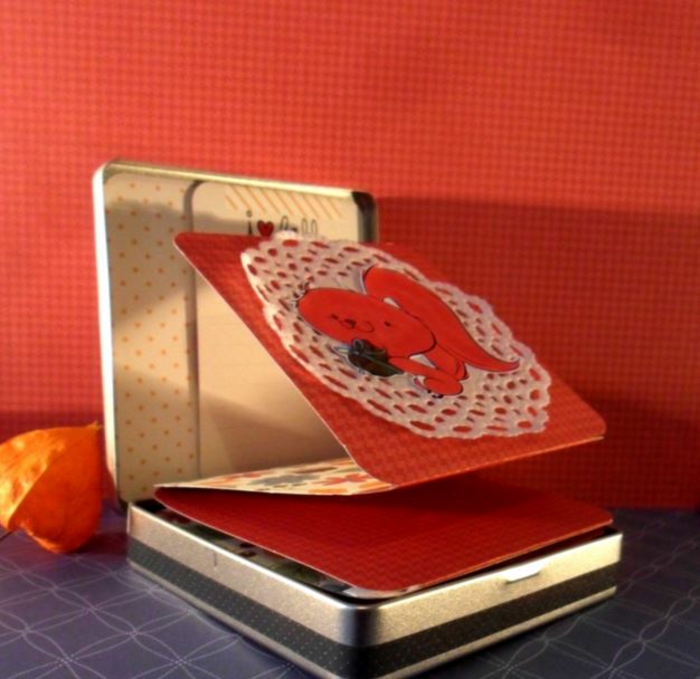
A matching box for the homemade Leporello completes the gift
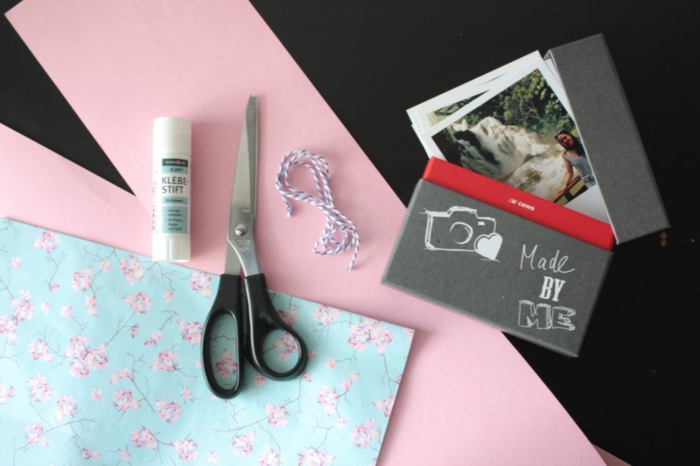
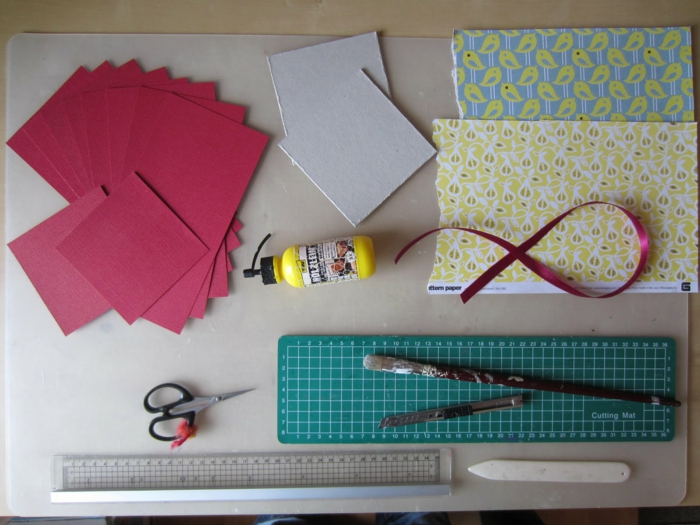
What we need:
The materials you need for this Leporello are little and easy to get hold of. You need photo carton in dark colors. Attention! Black is too dark and can look unfriendly.
You need some cotton fabric or another natural textile.
You should also have a ruler in front of you and best of all a triangle.
Mixed folding techniques and the individual touch are desired
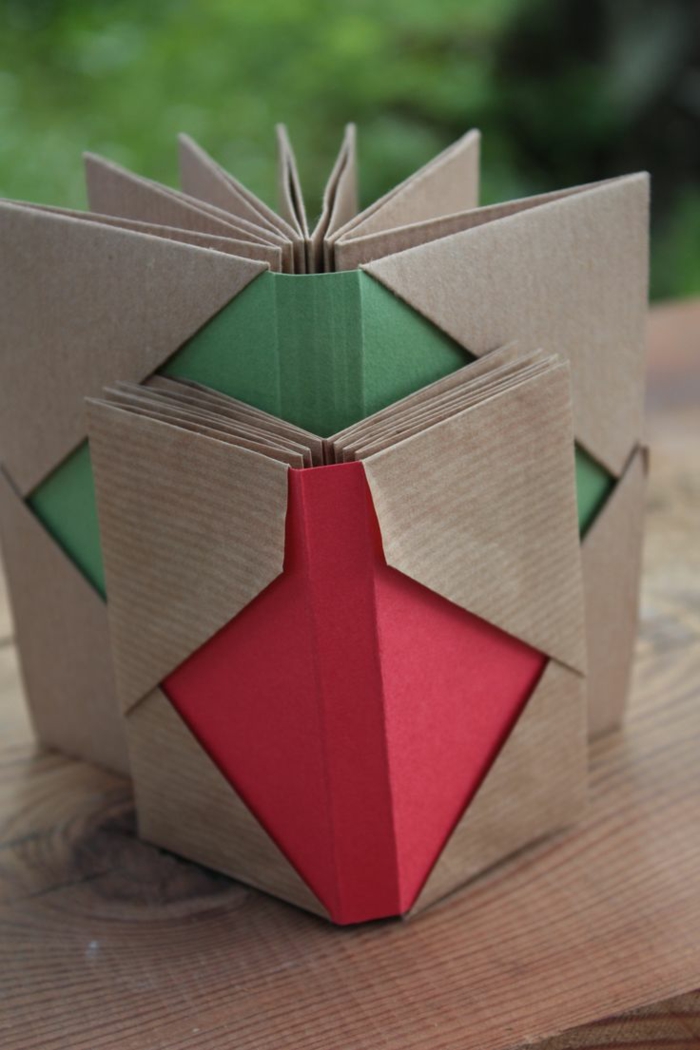
Leporellos are often preferred by young mums
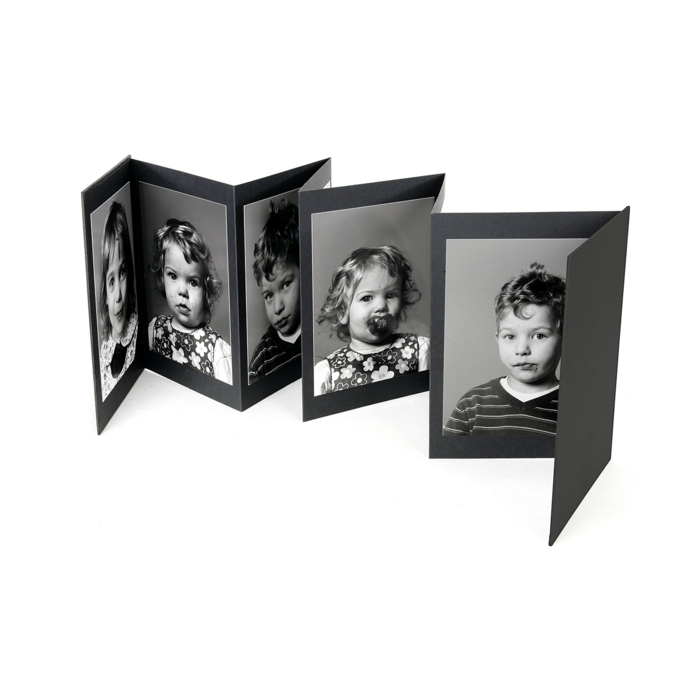
Scissors, photocard, ruler and a great idea are enough to start the project
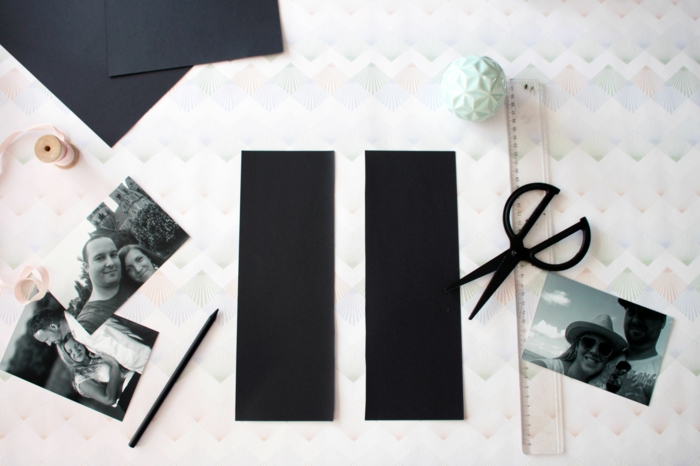
For your relief and better presentation – a sample template
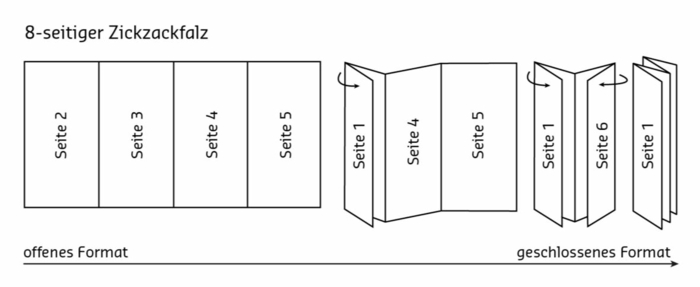
You need a pair of scissors or a sharp utility knife to work on the mentioned material.
Choose the format
When making Leporello you have a lot of leeway in terms of the length and width of the book.
The Leporello has inside pages and leporello lids. The outer parts of the project have to be wider and longer. How much – you can more or less determine that yourself. The rule of thumb is that there should be about 10% difference.
The color combination should be suitable for the content
cover
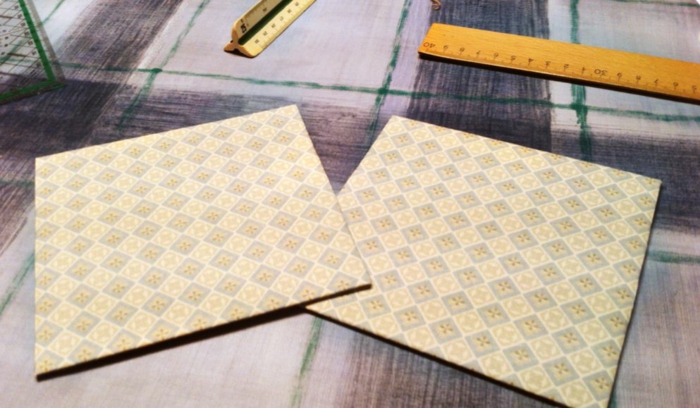
First, we describe how the crafting of the lid works. Cut the first and the last page of the Leporello from the cardboard in the desired shape and size.
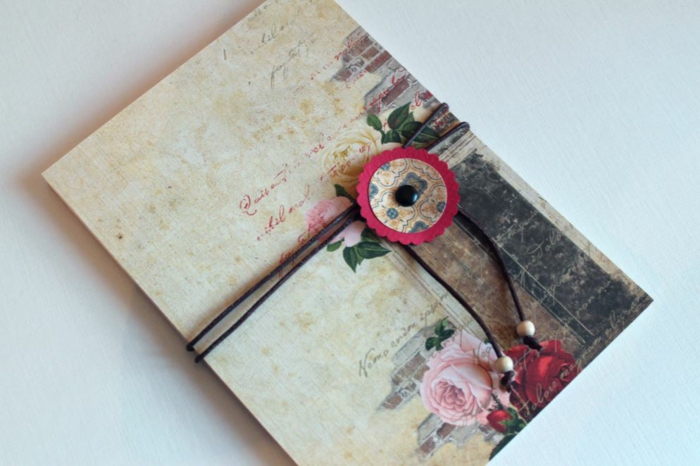
Cover the outer sides of each lid with the fabric. Leave some fabric on the edges so that you can wrap the fabric around the edges. You should now place the finished leporello lids under a heavy book or another weight. Leave them there for a few hours until the glue dries completely and the lid sides are done. For the lid, you can still wallpaper, crepe paper or something that you usually find good use.
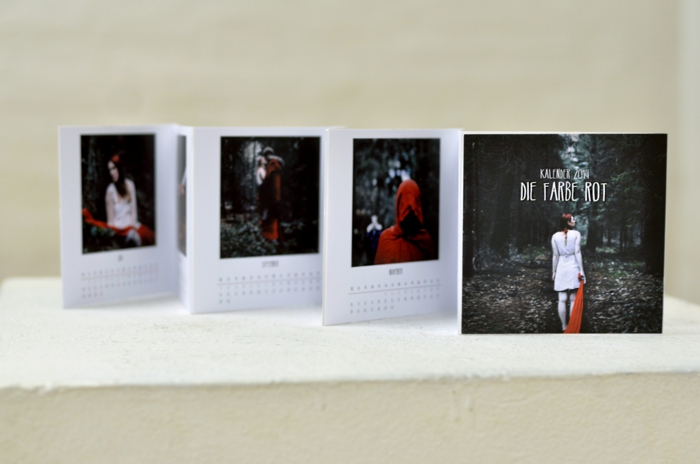
A functional calendar leporello
Think, measure and only then act
The style of your Leporello depends on your personal taste
The inner part
For the inner part of the Leporello, cut out long and wide strips from the photo carton. Then fold them to a accordion as shown in the pictures. When folding, the desired number of “picture pages” with the dimensions provided should arise.
Glue the desired pictures on it and your project is already finished!
Can you see it? It is not so hard. It can be a nice weekend with craft ideas and pleasant music. It’s not better than a homemade gift.
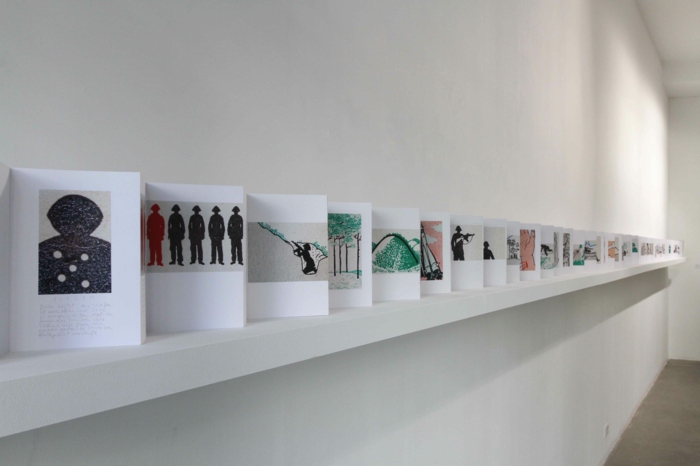
The format is suitable for small art exhibitions
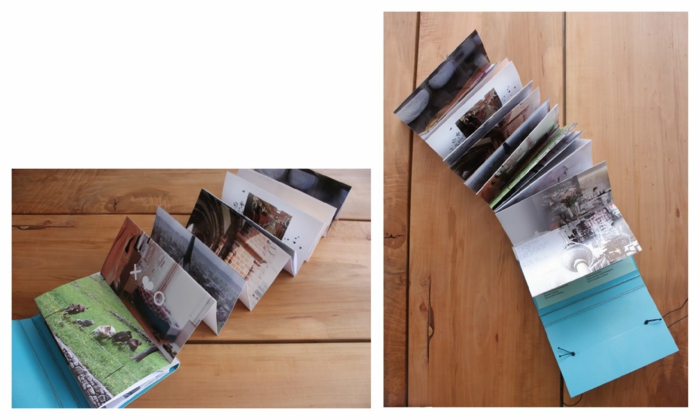
Beautiful memories are even more beautiful when they are shared
Aesthetic placeholders animate to personal, hand-written wishes
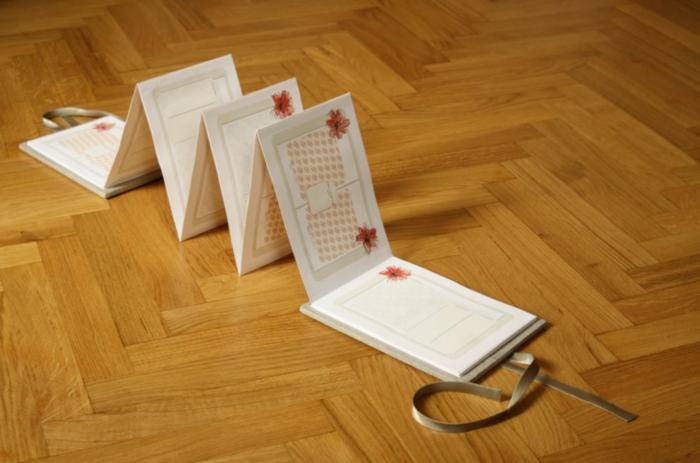
The leporello’s lids should catch all eyes
The raising of the Leporello should work perfectly
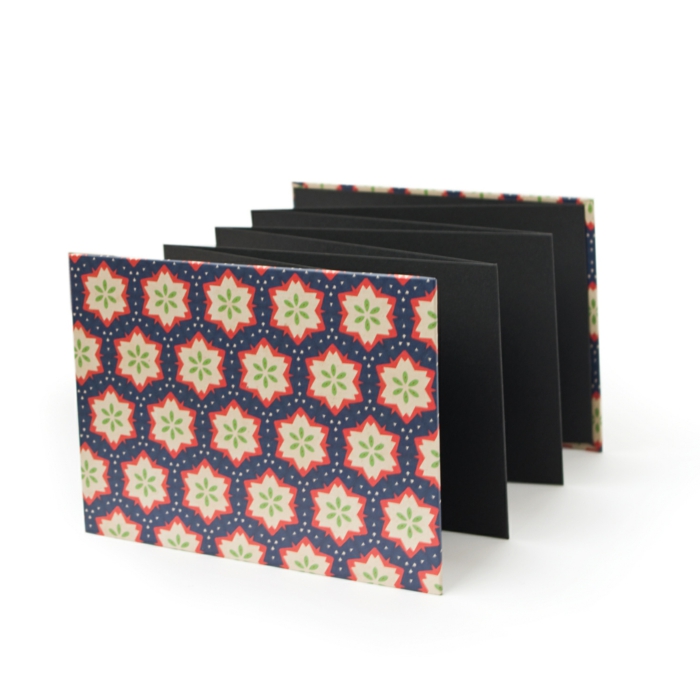
Subtle and sympathetic
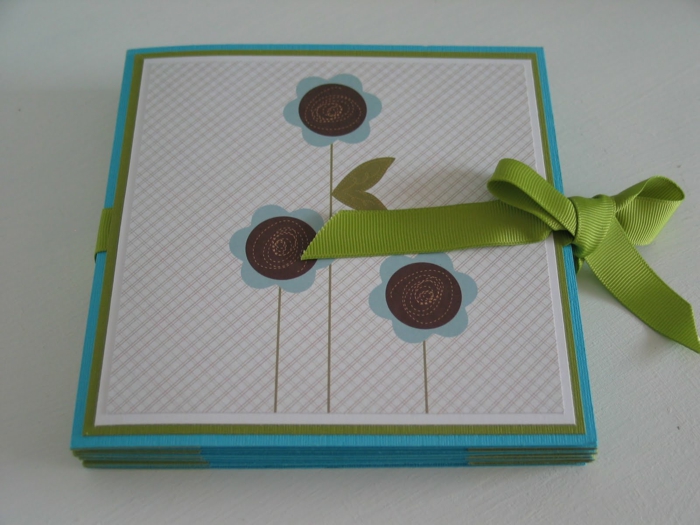
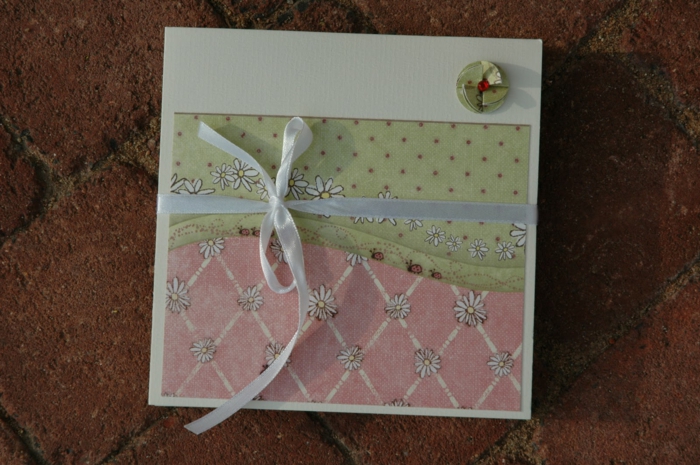
In the free design of the lid, there are no limits
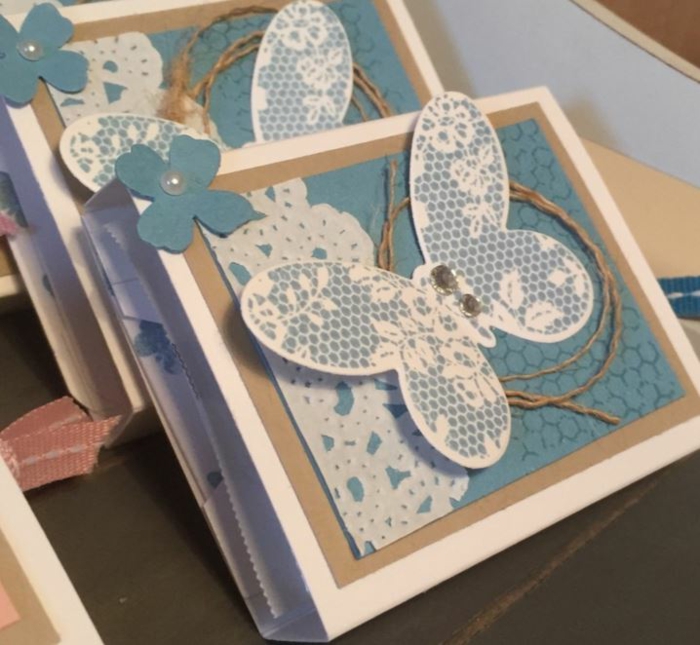
You can use wallpaper remnants for the design of the Leporello
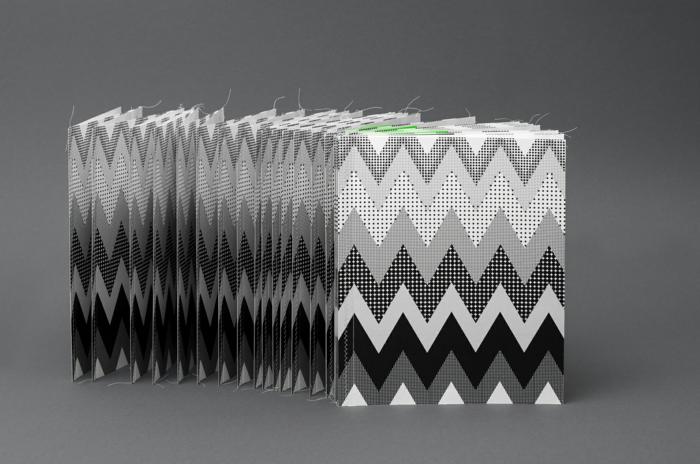
Artfully designed Leporellos are of course the most beautiful
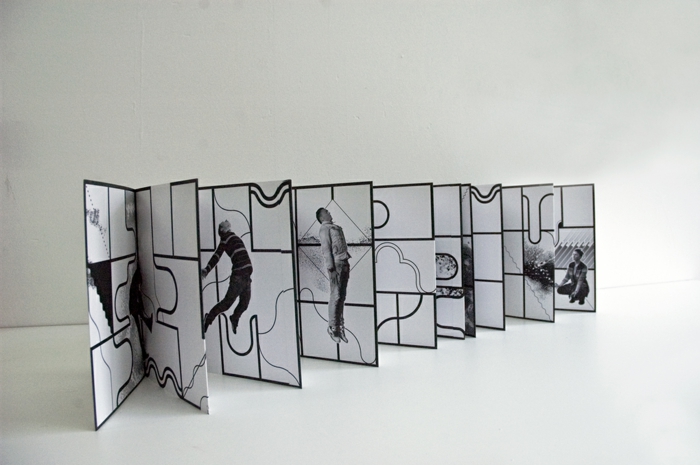
Handmade gifts are personal and special
With a personal gift you communicate without words
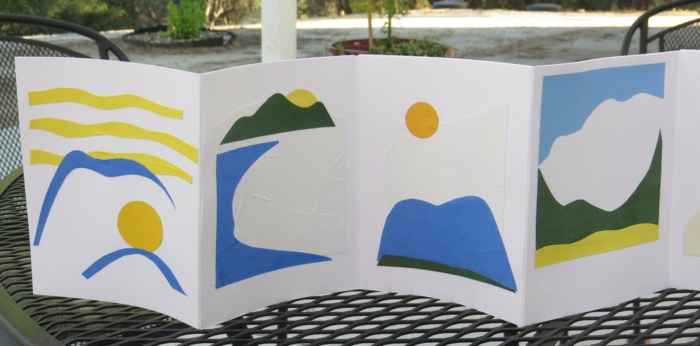
How satisfied will you be when the Leporello is ready ….
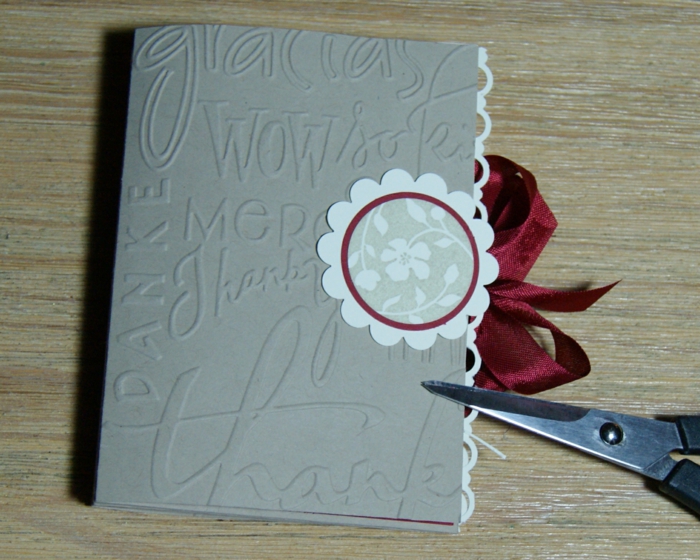
Leporellos can be beautiful wedding invitations
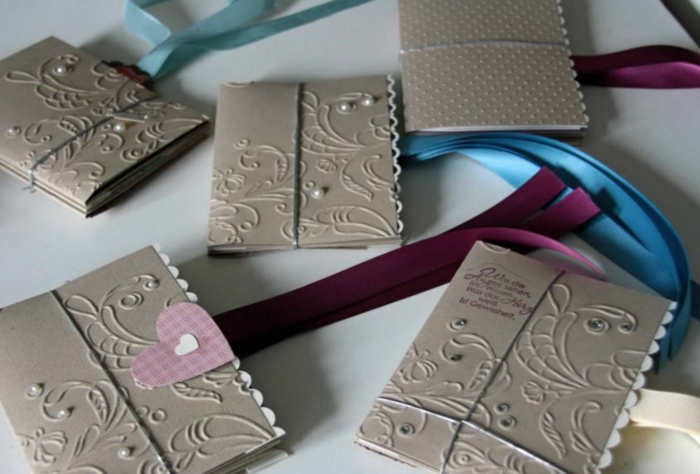
Follow the instructions step by step
Multimedia accompaniment for good results
and more inspiration
