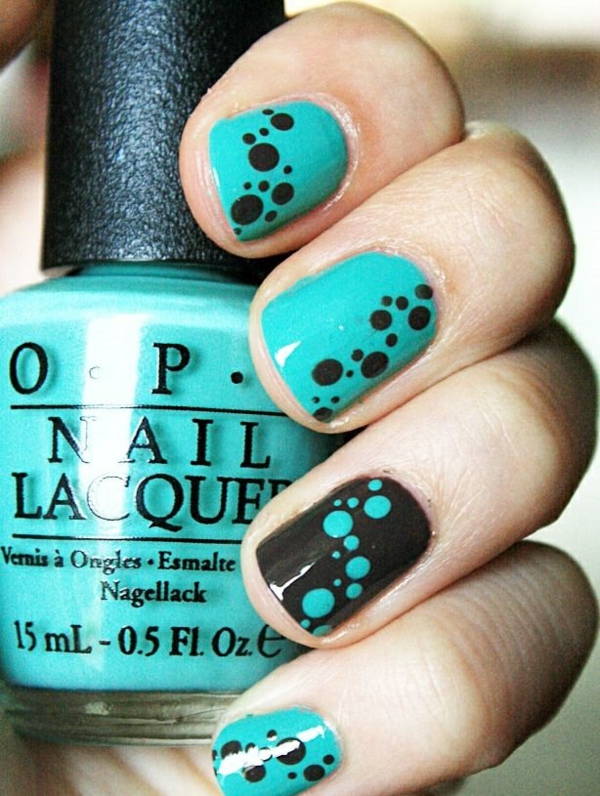
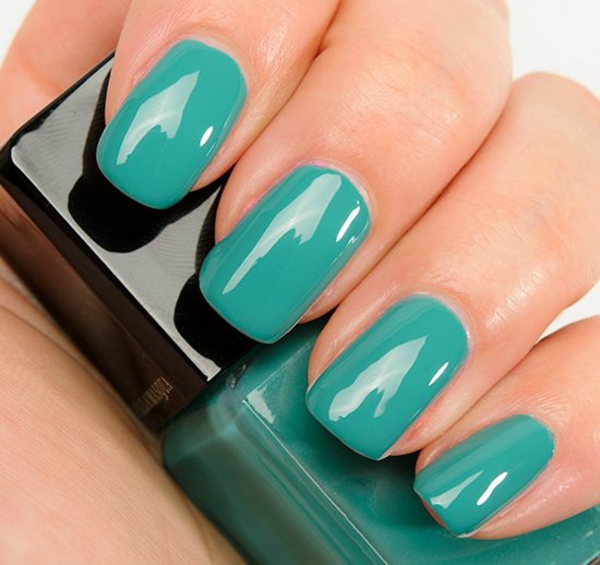
Professional tips and tricks on the topic of “painting nails”;
Paint the nails with professional sets and tricks at home
Hm, to be honest, we’ve been thinking for a long time about how we’re going to go about this article. We were on the verge of promising to help you paint your nails so that they are professional. Honestly, that hardly works, unless you are a real talent.
Thankfully, the nail design industry is evolving more and more every day. There are always better-developed methods that allow you to paint your nails so that you achieve wonderful results. You can not do this in domestic conditions.
Paint fingernails properly
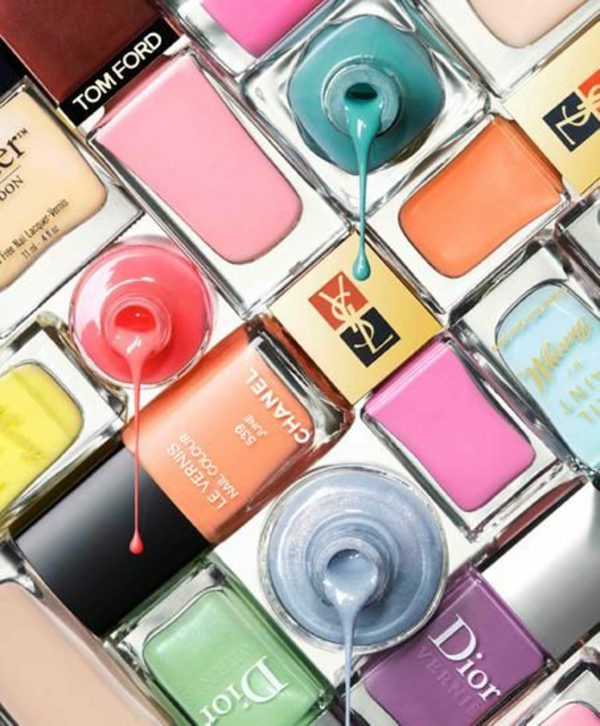
But you have many devices and sets that you could find only a few years ago in the specialized stores. With it and with some tricks, which one knows from the professional studios, one can paint the nails so that they look extraordinarily neat and beautiful.
So you can visit the studio only for really special occasions and comfortable to maintain your hands at home.
Everything you need for a nail polish design
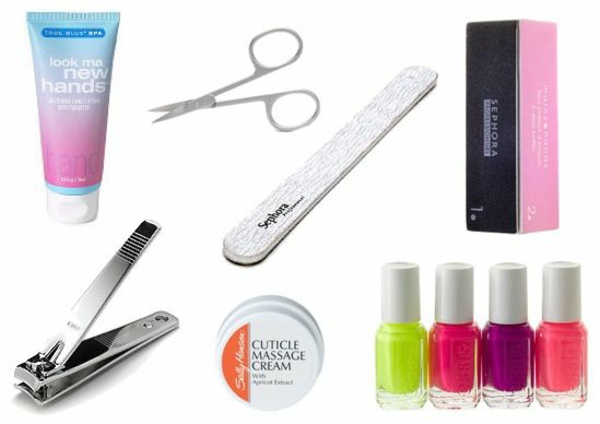
Make yourself a great Christmas present – give yourself valuable cosmetics and nail polishes
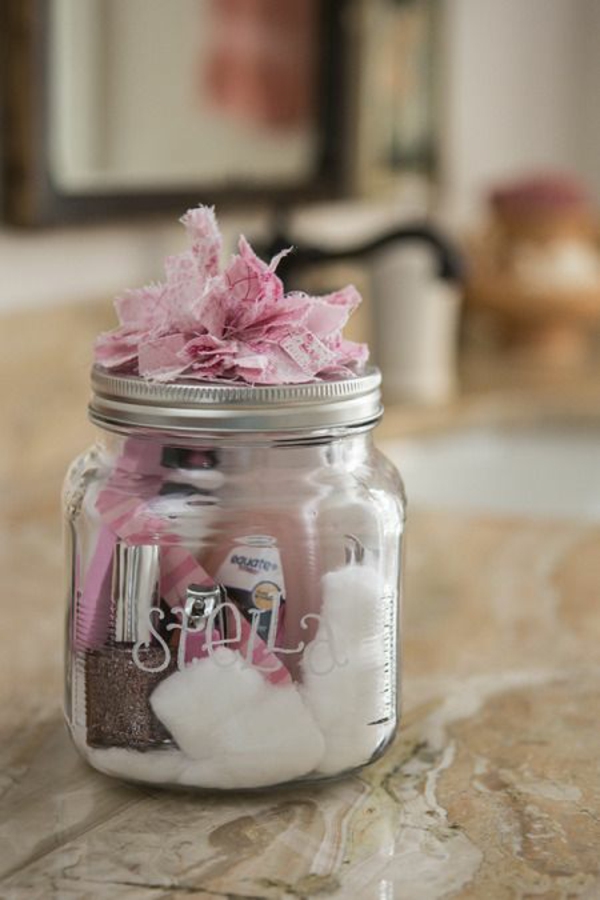
The most important rules when painting the nails
Before moving on to the specific tips, let’s give you the main rules to follow. First you have to wash and dry your hands very well. Then you would need to make sure that the products you use are of good quality. Not always, these must be the most expensive brands. But if you save, you do that consciously. They must not have expired. If the nail polish is reduced, look why it is. This, firstly, looks bad and, secondly, it is not healthy to apply such substances after the expiration of the date of use.
Care for your hands and nails – use natural products
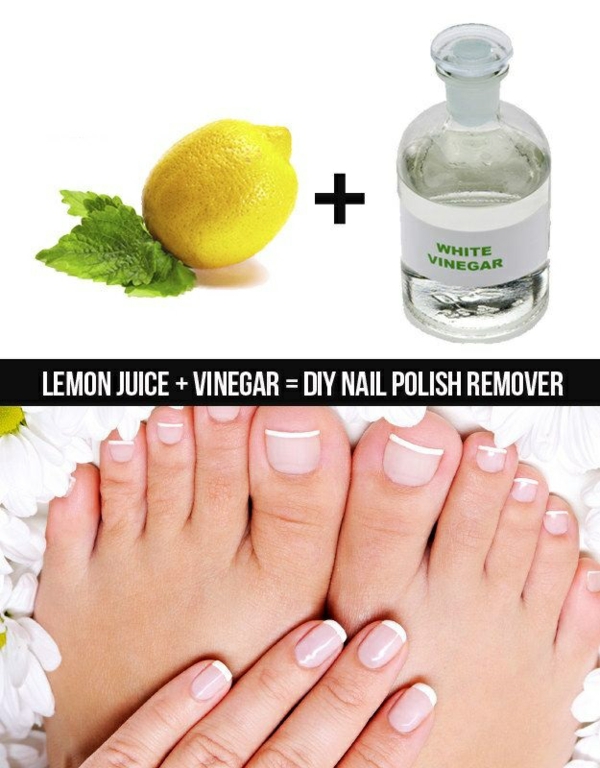
The professional tips for nail painting
And here we come to the special tips, by which you can paint your nails almost professionally at home.
1. Warm up the nail polish with your hands and pour the bottle
2. After removing the brushes, drain the nail polish. This leaves just the right amount to apply.
Professional nail design made easy

3. Begin dyeing from the middle of the nail surface. Otherwise, you run the risk of painting the skin in the base of the nails. From there, it is quite difficult to remove.
4. You have to do it after touching the nail with the brush to remove it only at the top. Only then will the result look uniform.
5. If you have done everything right, then after step 4, only a very small amount of paint on the brush must be left over. It takes just as much to do the lateral lines of the manicure.
Follow these very easy tips
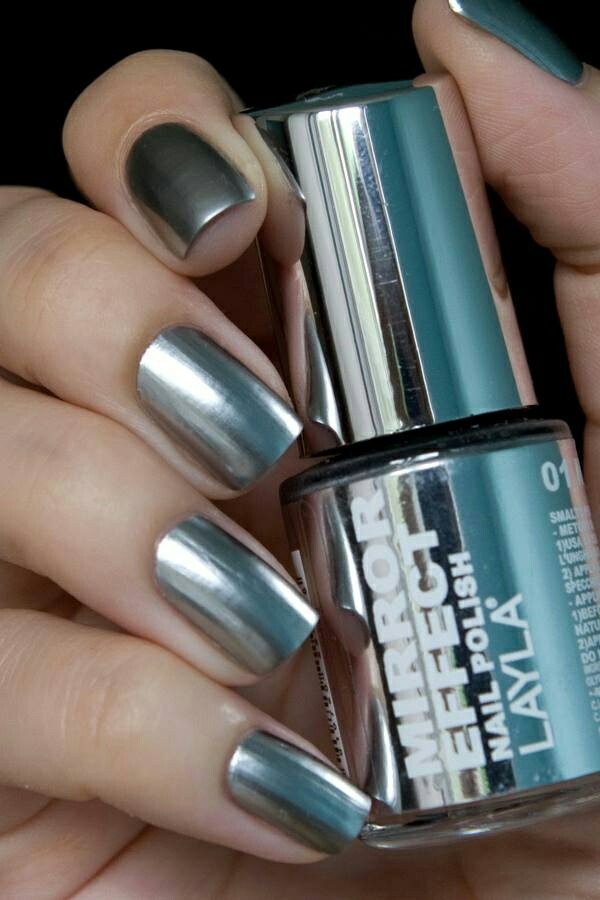
6. You must paint the nails with at least two layers. One is by no means sufficient. Allow enough time for the two to dry off.
7. Now it comes to the last phase. Look closely to see if something on the side of the manicure may not look perfect. Often, despite all the caution, at least a bit of the pieces of skin in the approach discolored. Hardly you can remove the paint from there without a trace, if you do not use a special pen for correction. Alternatively, you can use a stick for ear cleaning. The latter is really only to be recommended to the very skilled among you …. Keep a corrective stock at hand.
Apply two coats of nail polish – take your time
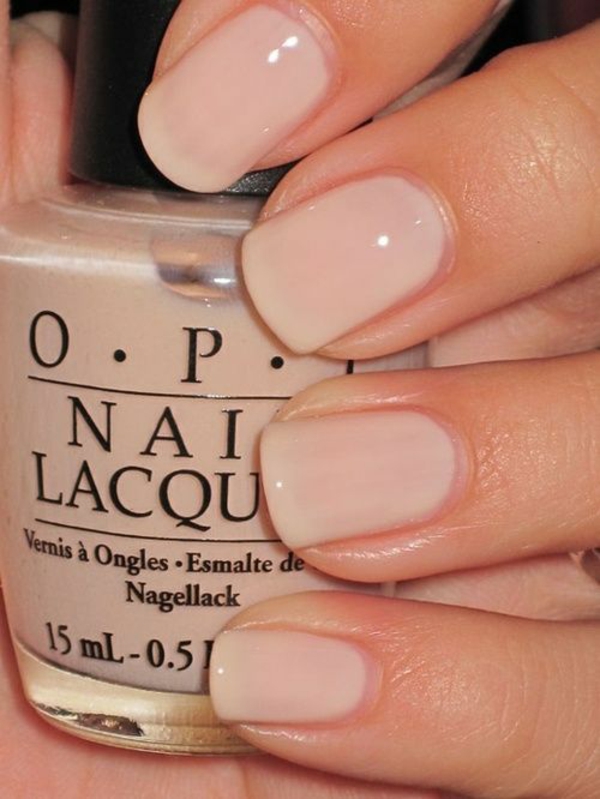
If you carefully follow all these tips and maybe practice a few times in peace, you should soon be able to professionally paint your nails without any problems.
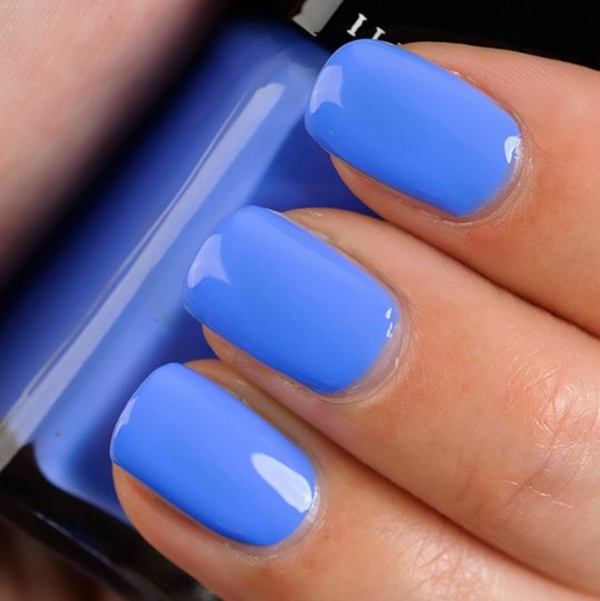
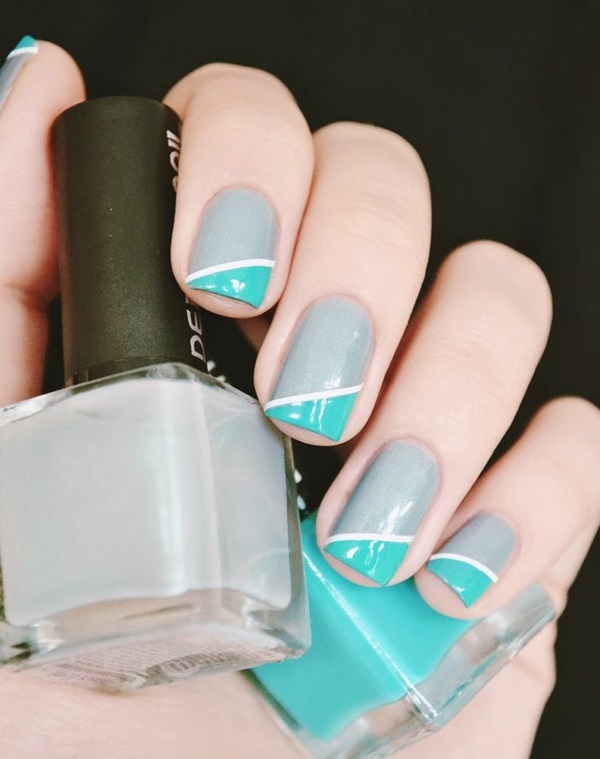
Nail art design in blue
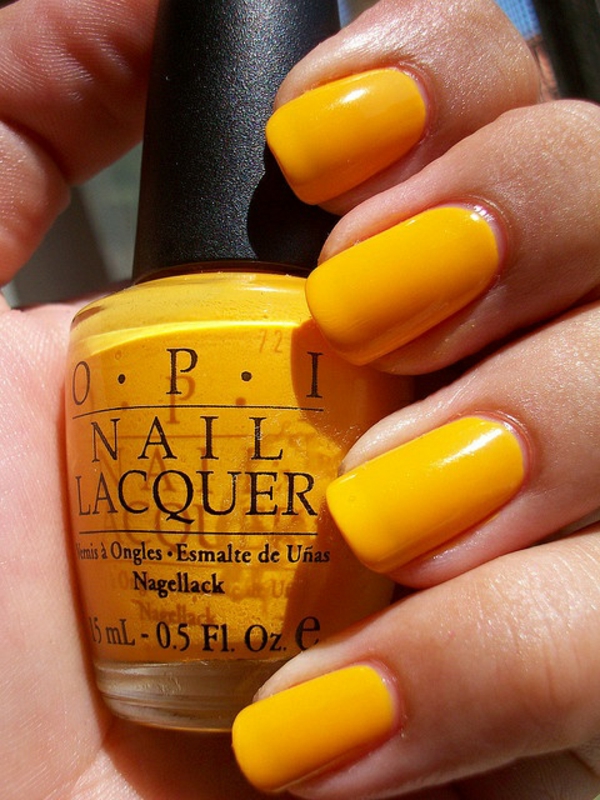
In bright yellow
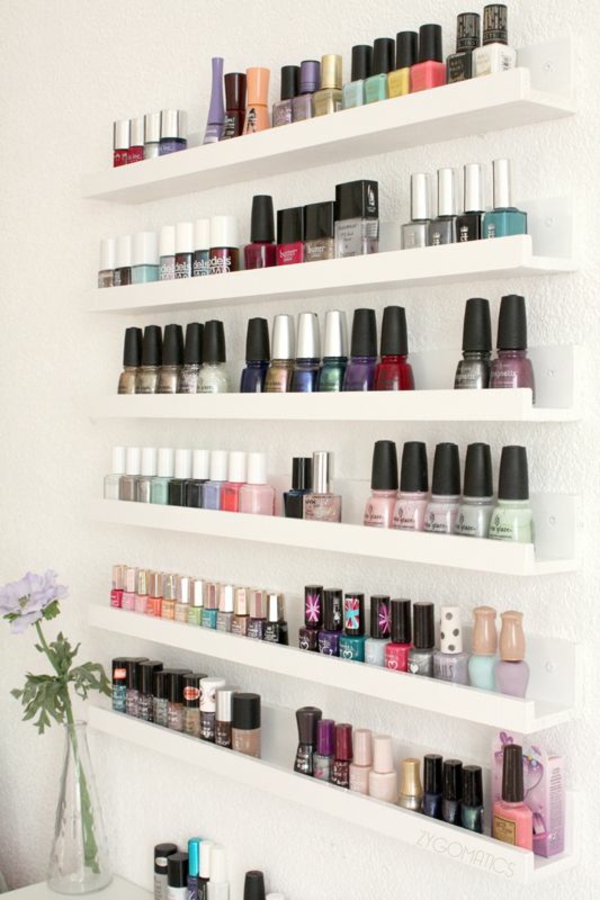
Nail polish colors to choose from
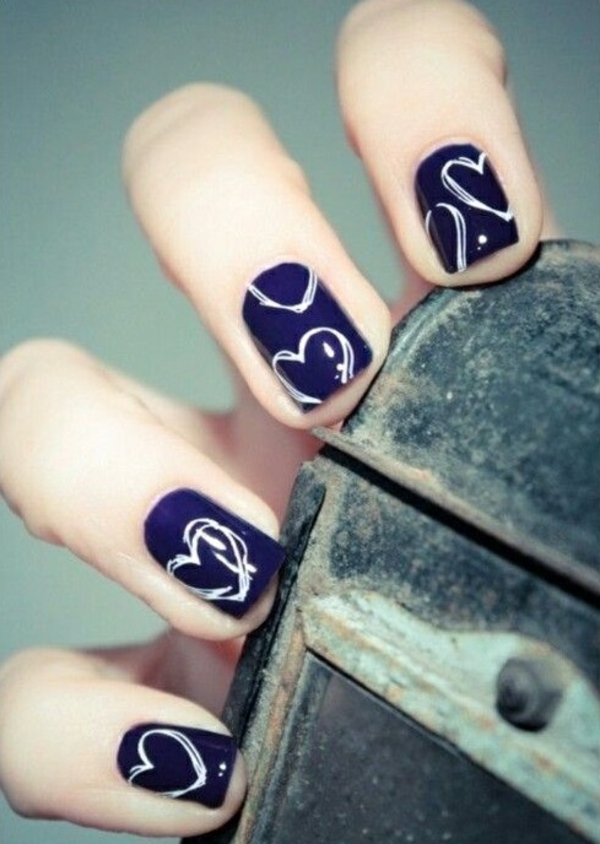
Create a pattern
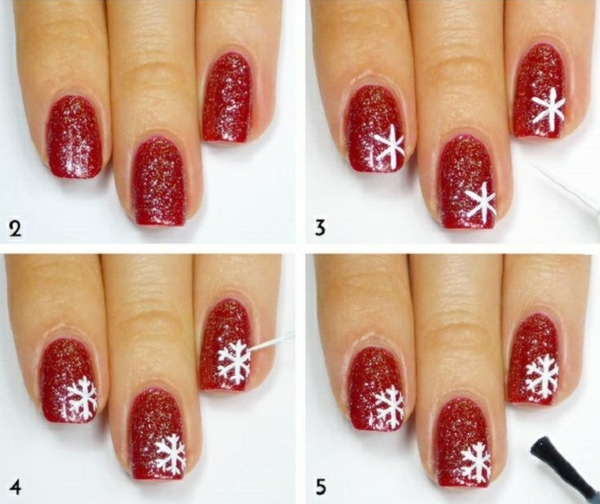
Painting fingernails – pattern for Christmas

Snowflake in the lower right corner
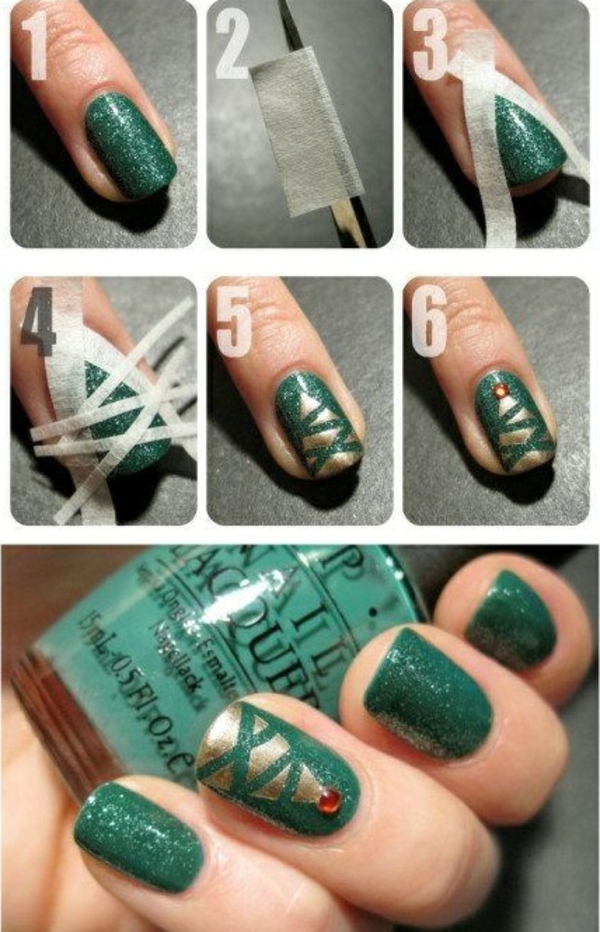
Simple fir tree
Simple design in black and white

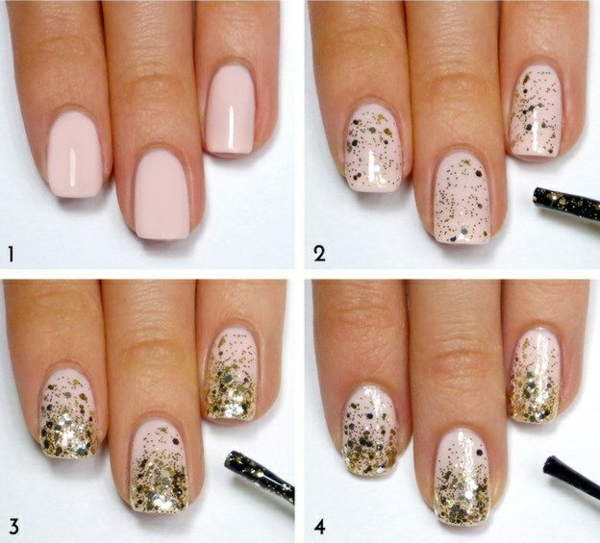
Do not forget shiny effects!
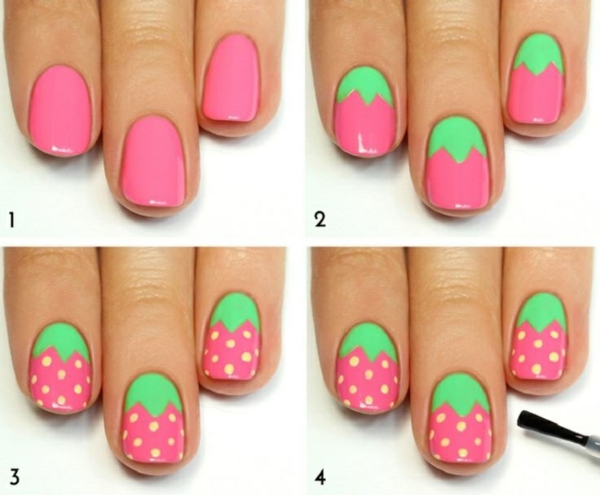
Nail art ideas for the coming summer – strawberries
Combine a neutral and a strong color
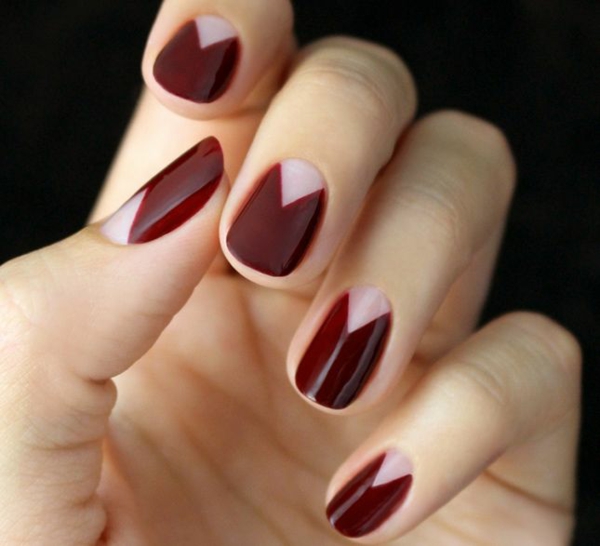
In classic red
Multi-colored nail design

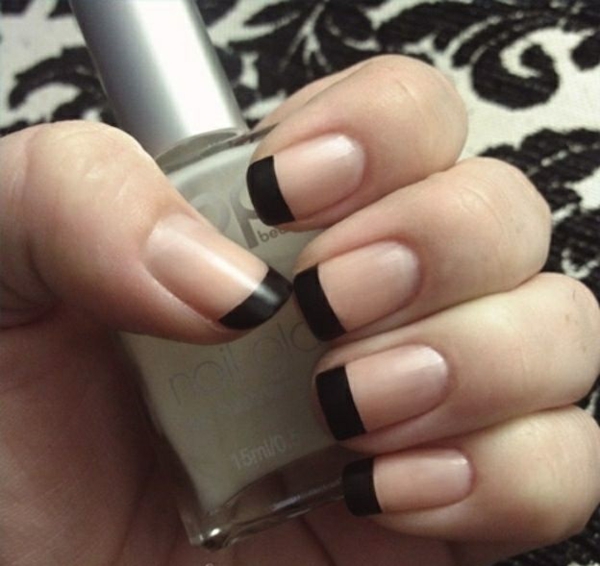
French nail design in black
Nail polish with effects
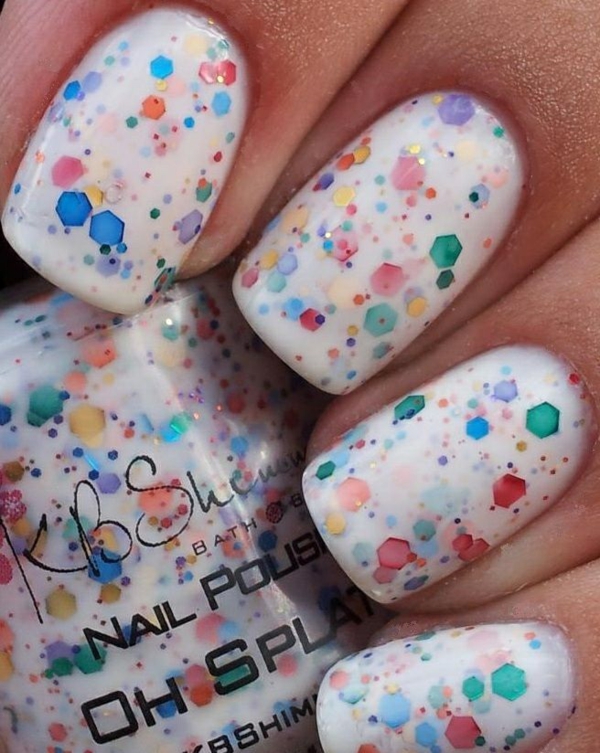
Pünktchenmuster as made by the pro
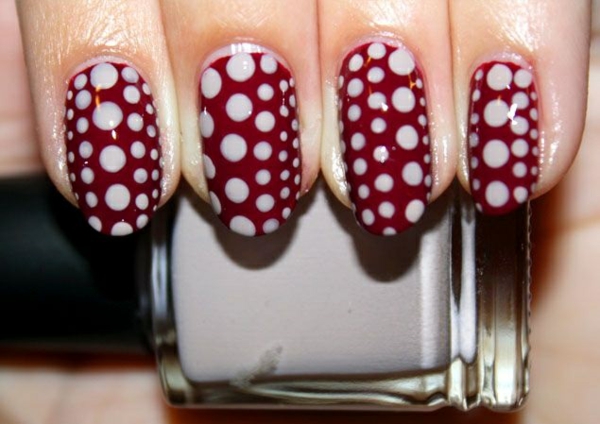
Let yourself be inspired by these nail art pictures
