Make cobwebs yourself: 3 simple instructions and a lot of ideas
“Samhein”, as the Celts once called it, or Halloween as we know it today – the festival of horror is celebrated worldwide and awaited with great impatience by young and old. Originally, the 31st of October was always the end of the summer and the beginning of the Winter Kingdom, because the natives of northern Europe knew only two seasons. Today we celebrate Halloween in the midst of golden autumn. Exactly when the foliage turns gorgeous in red and gold and the air gets fresher and wetter. It is without doubt one of the biggest highlights of this season not only when it comes to celebrations, but also to decorate.
Halloween time is craft time
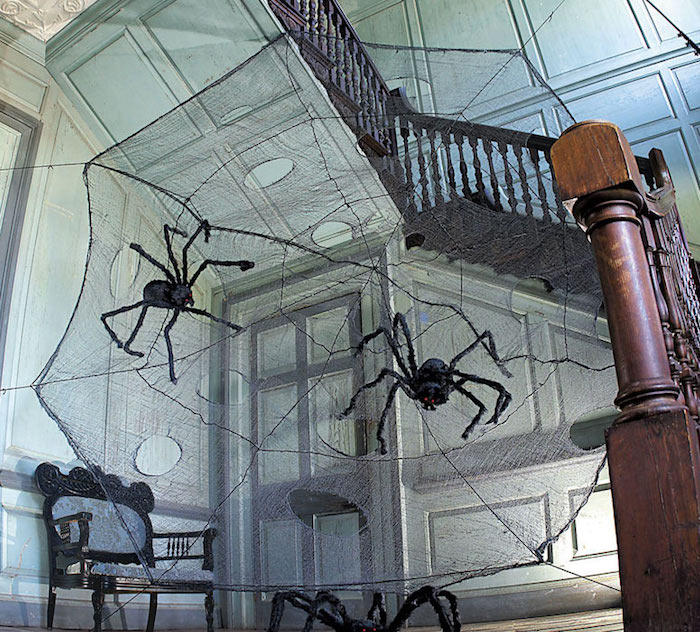
Today we do cobwebs ourselves and how to create a spooky Halloween atmosphere very quickly with little time and money. The catchy creepy-crawlies, which we all know and either hate or love, definitely belong to a successful Halloween decoration. Especially their networks enchant every single ambience in no time and breathe it spooky. It is therefore not surprising that many of us would like to make cobwebs for Halloween, and in all its variants.
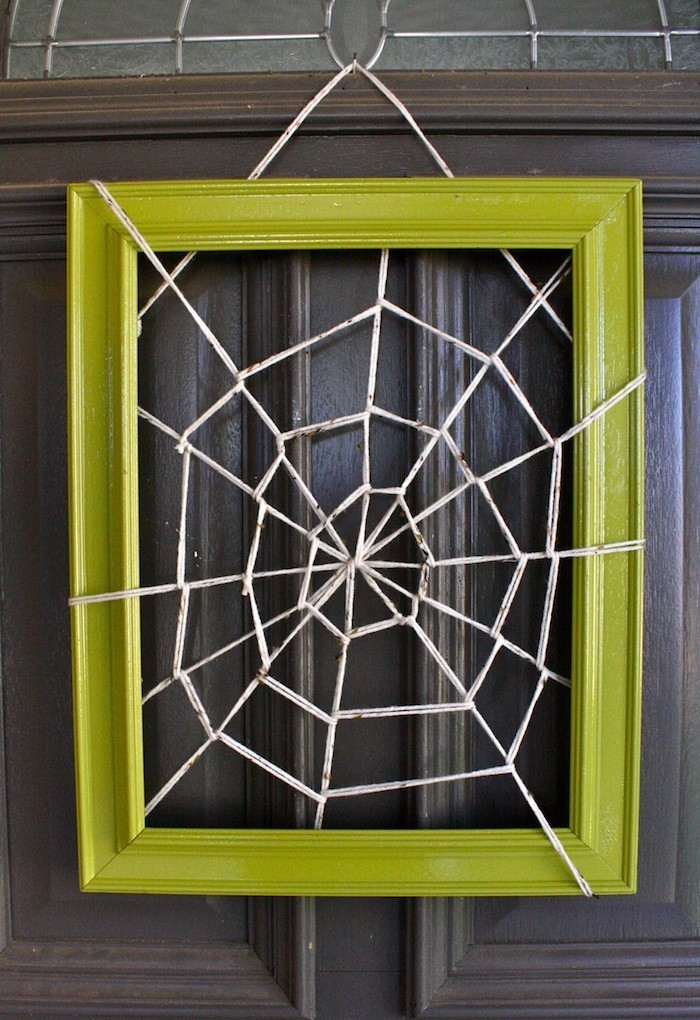
A spider web made of yarn is very easy and fast to tinker
Luckily, spider webs can be made from many different materials. Cotton, old fabric, plastic, paper or yarn – depending on your preference and availability, you can find the most suitable material for yourself. We have decided here for yarn and cords and would like to offer you three simple DIY instructions for cobwebs themselves, which you can follow step by step in text and image here.
Spider webs make themselves step by step
Basically, you need very few materials and tools for the three DIY projects that you already have at home. Stay with us and take a look at everything. Perhaps you can already decorate your walls or the garden with effective spider webs today on the upcoming Halloween Fest. The editorial team wishes you lots of crafting fun and a good luck!
DIY spider web of white yarn
First variant
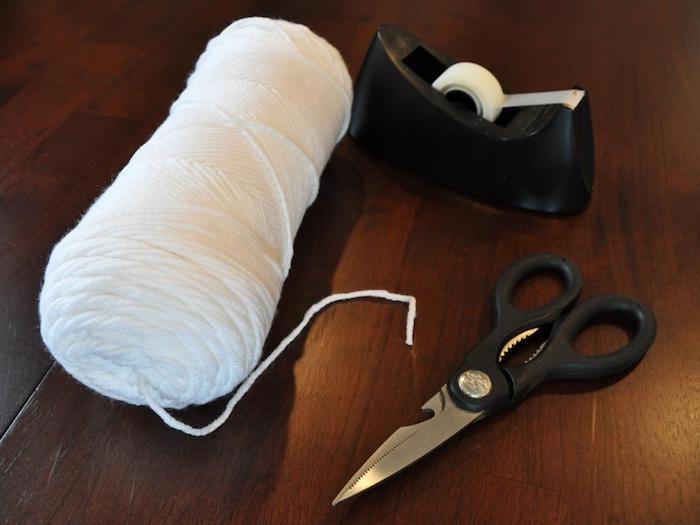
All you need is yarn in white or, if you wish, in a different color, scissors and Tesafilm. Ah yes, and best take a larger table as a work surface, as shown below.
The required materials and tools
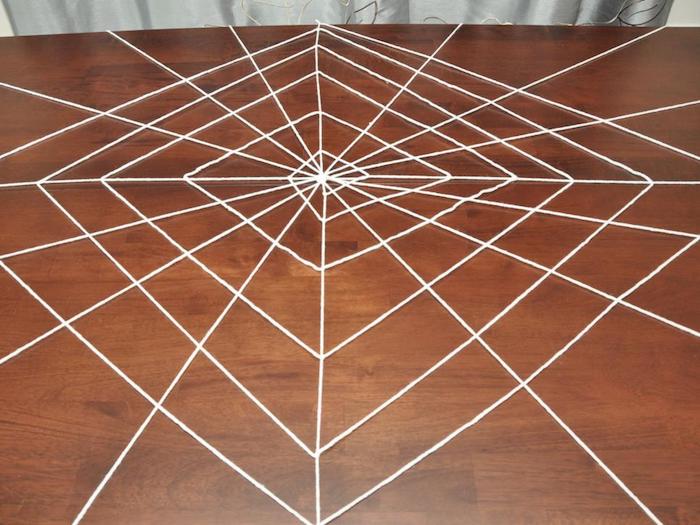
First place the desired length of yarn across the table
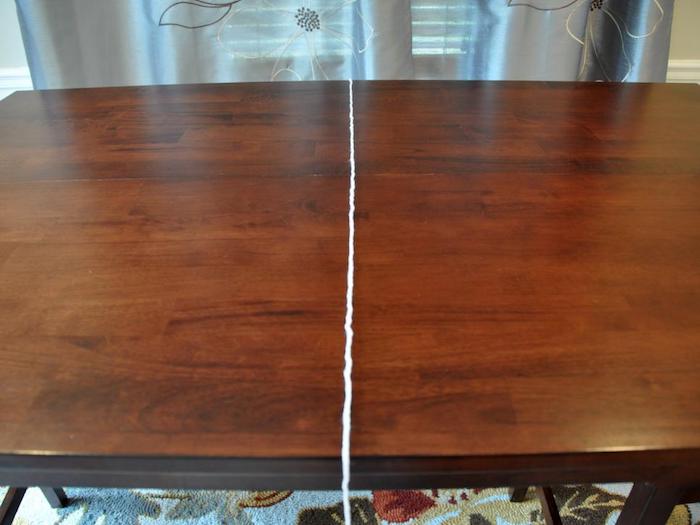
Fix the two ends with Tesafilm
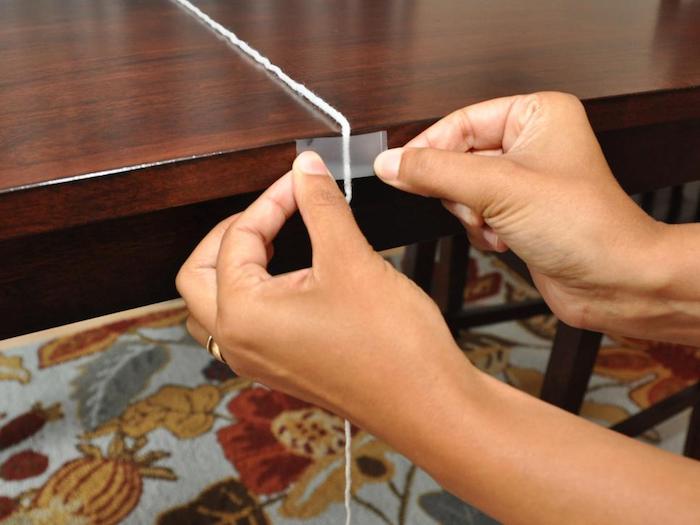
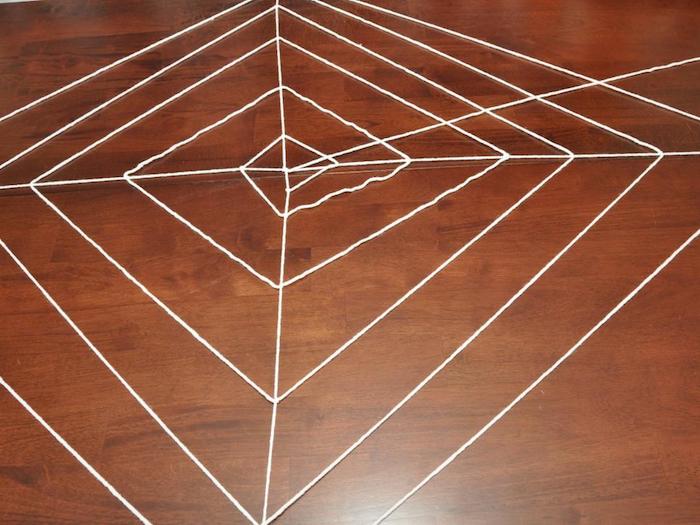
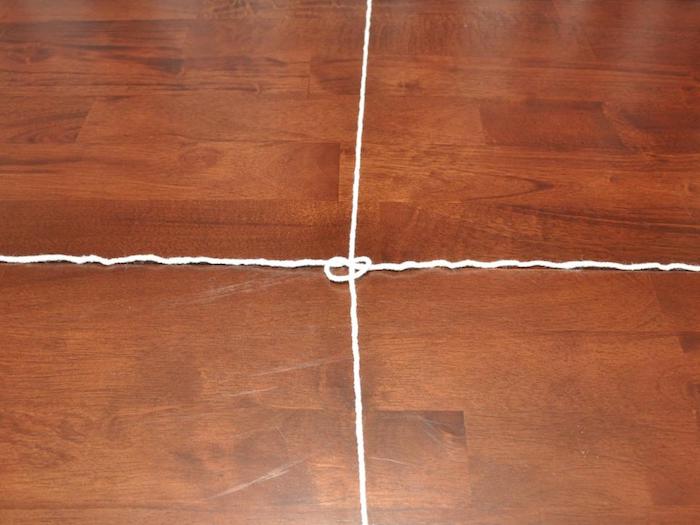
Then place a second thread crosswise at the first
Then cut a much longer thread from the yarn and press it into a ball
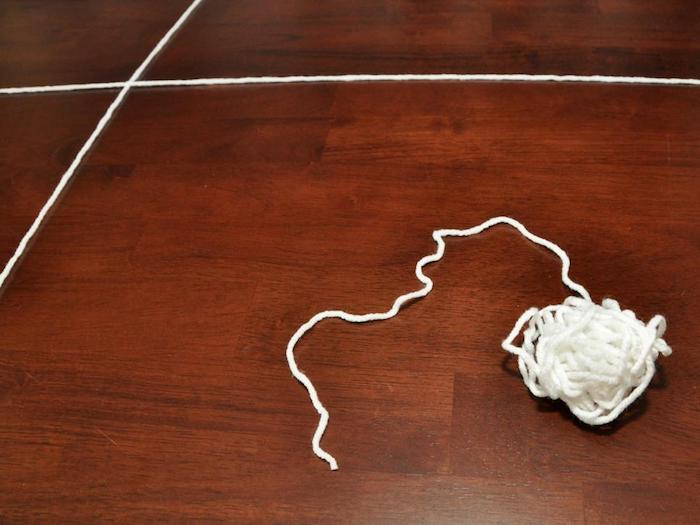
Then knot one end to any axis and then start working on the spider web
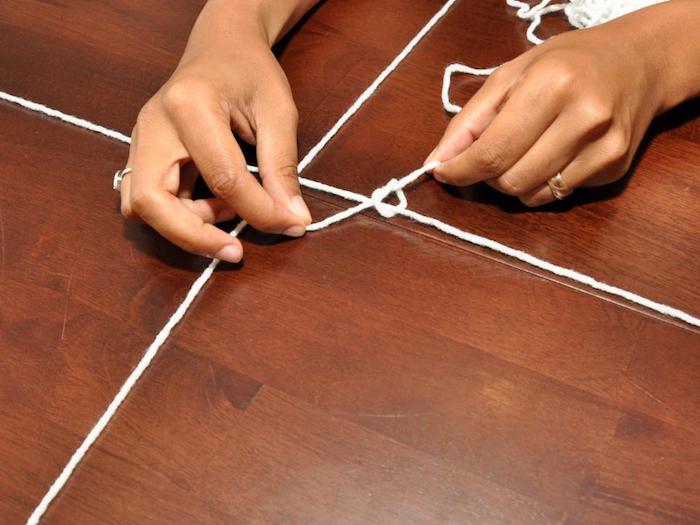
Always make one knot at each point where the threads intersect
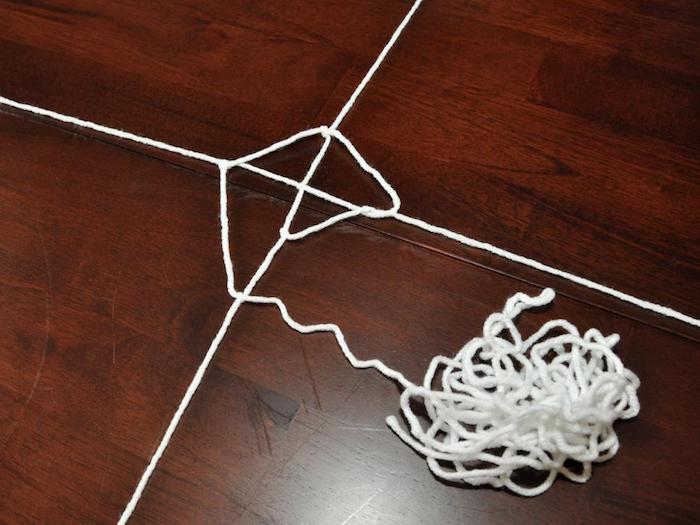
Slowly one after the other, your cobwebs are created for Halloween
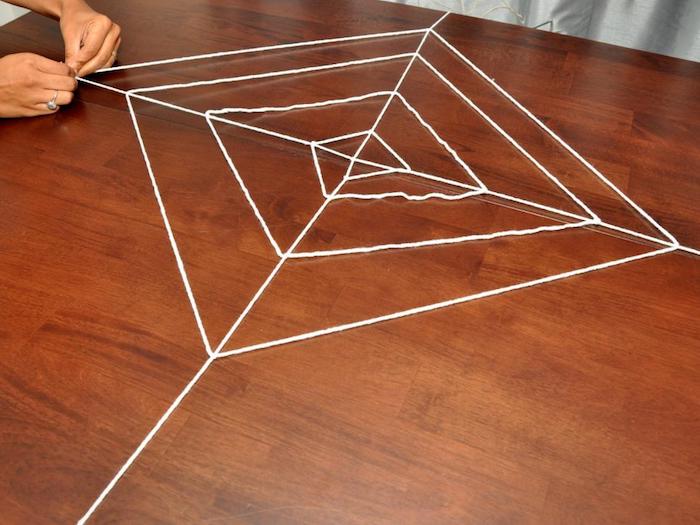
Successively add a few axes to it, as you can see here
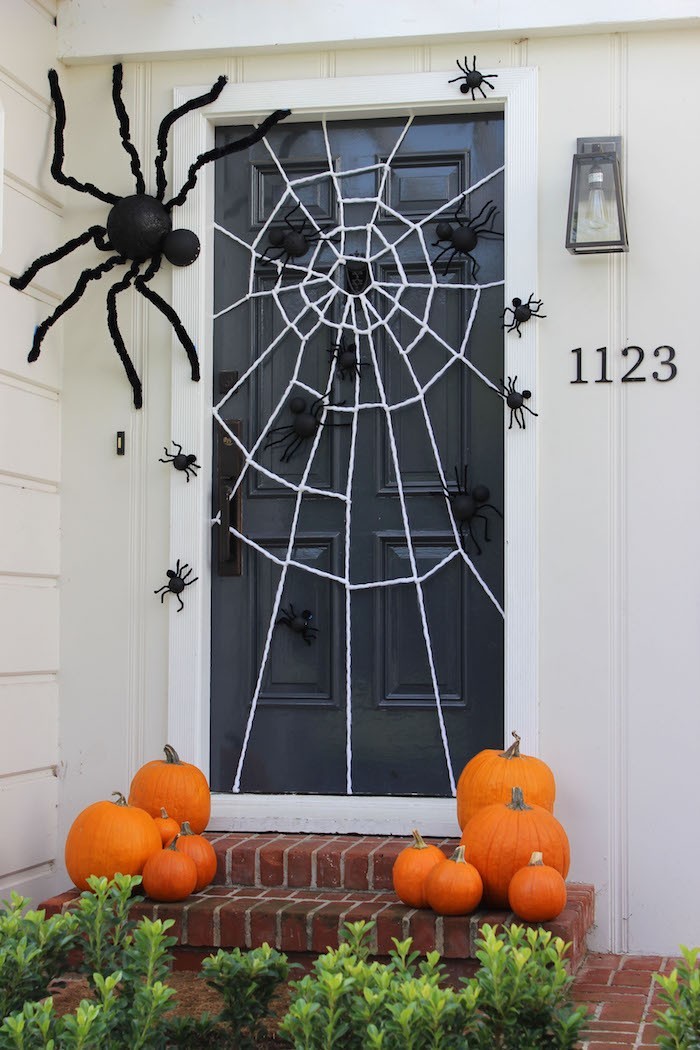
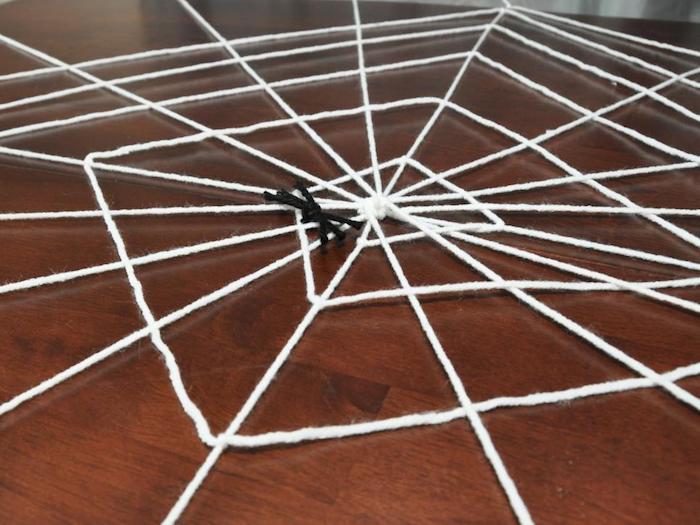
All that remains now is to put the spider on it and … voilà!
Second variant
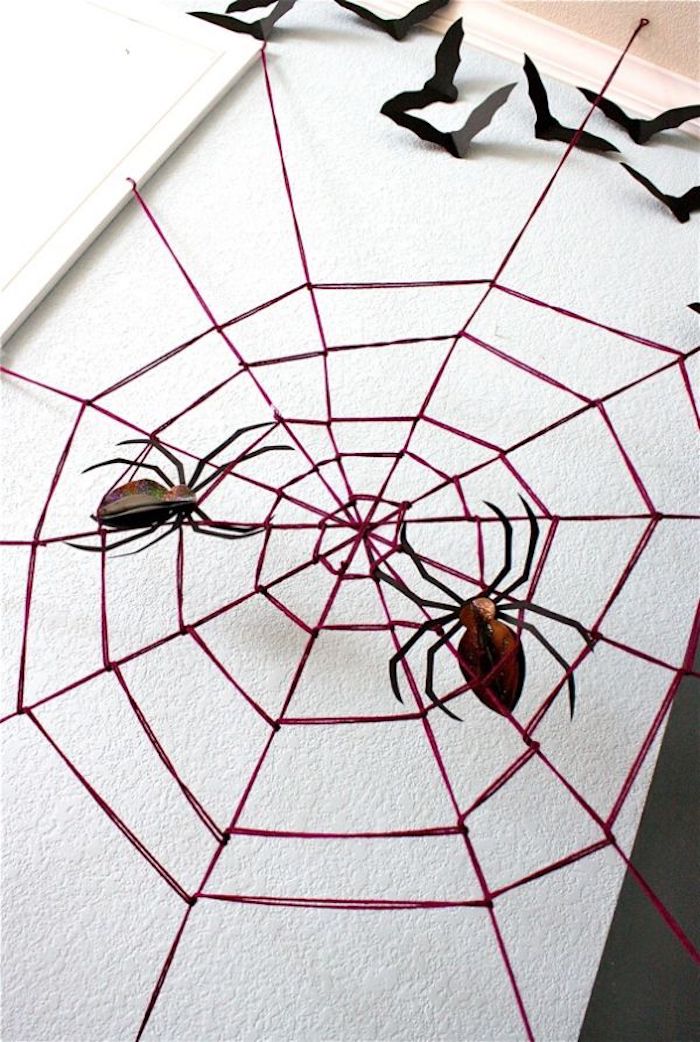
This spider web is very similar to the first. The difference here is more the color of the yarn as well as the working surface during weaving. This way of making a spider web yourself is almost the same as using spiders in nature. The whimsical creatures attach the first thread at one point and then weave one after the other to the opposite end of the spider web. Then they return to the center of the cobweb and again and again to the next end.
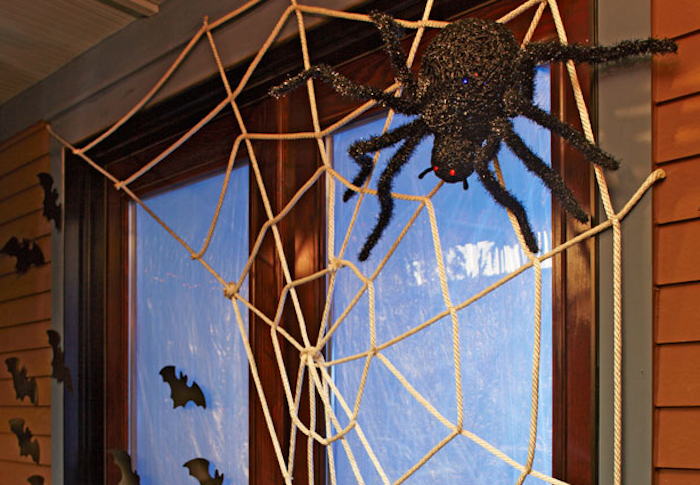
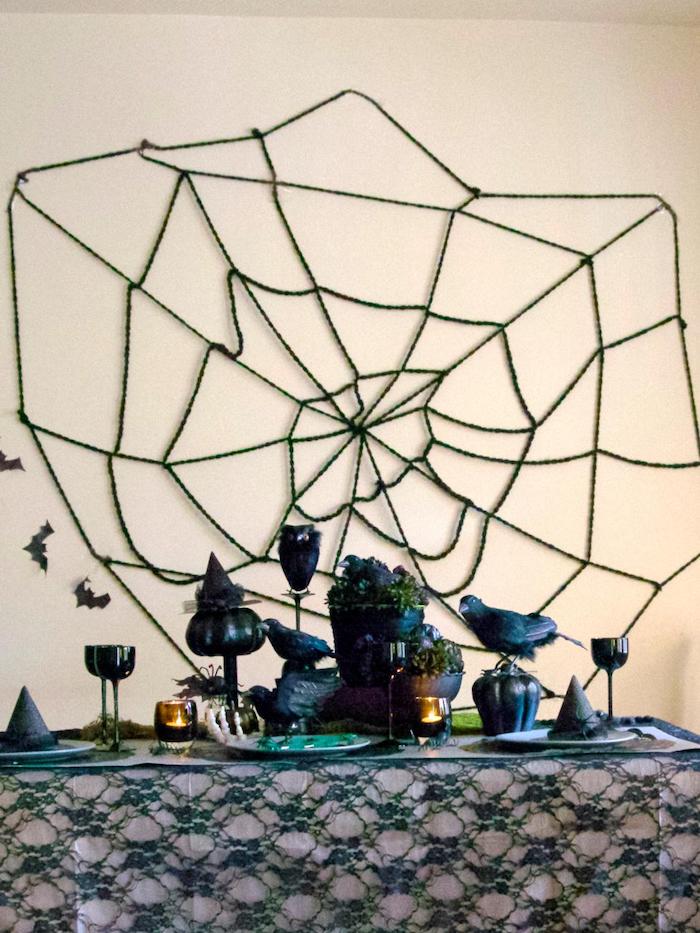
Original Halloween wall decoration with bats and cobwebs
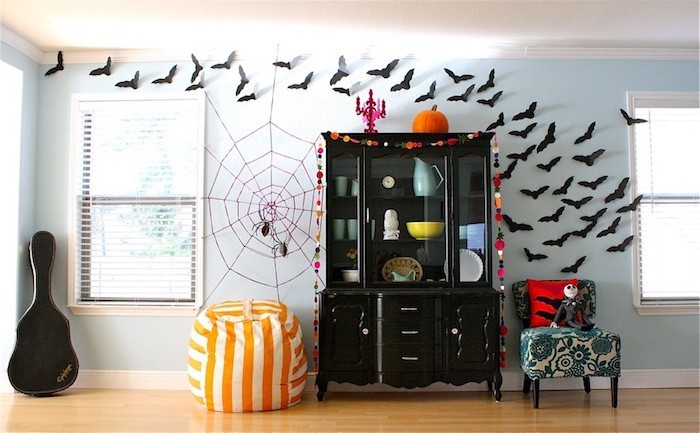
The spiders on it look pretty realistic
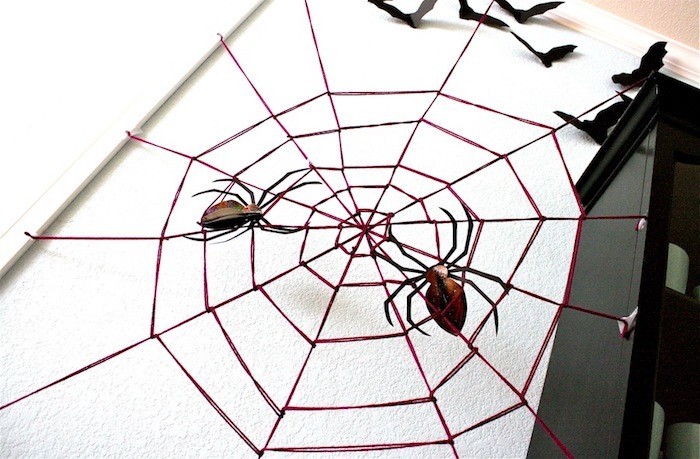
Important here is the knot technique
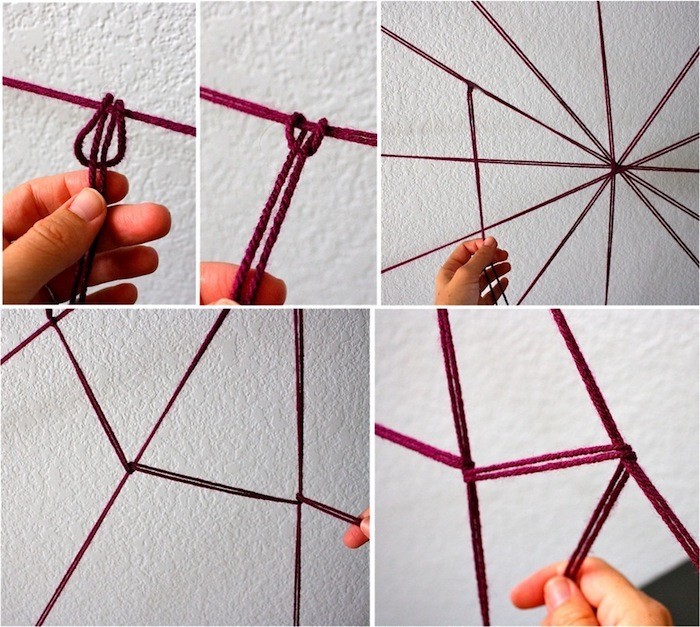
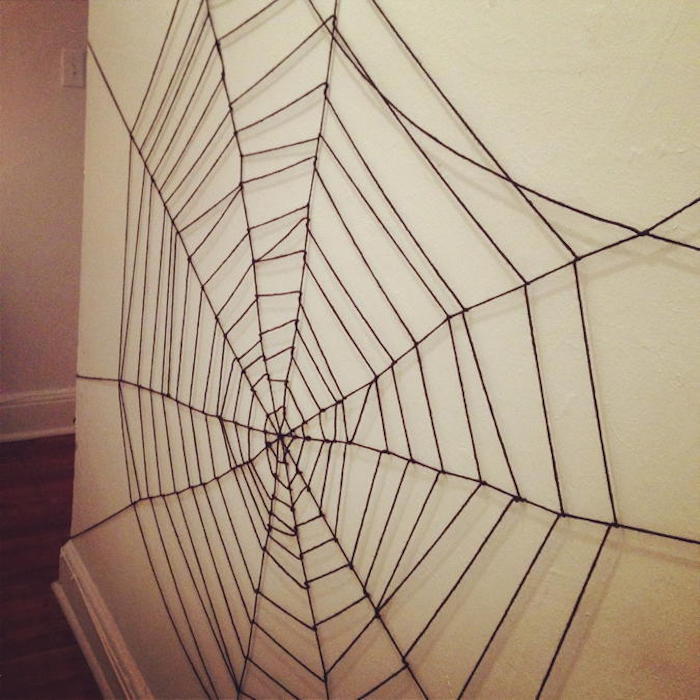
Built up in this way, the spider web made of yarn looks very authentic
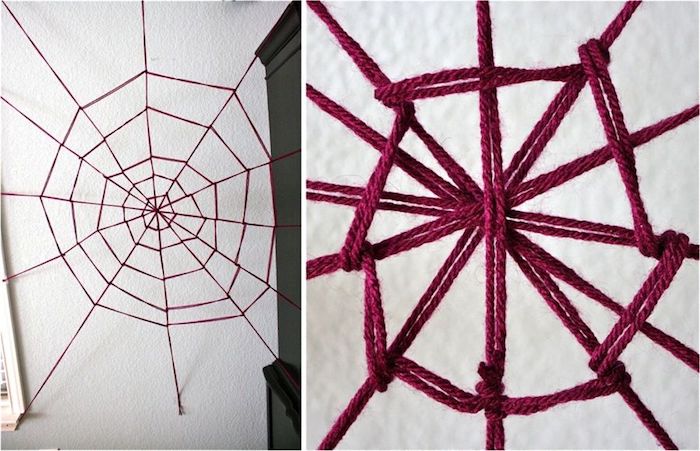
The dark purple color is the perfect contrast to the white wall
Third variant
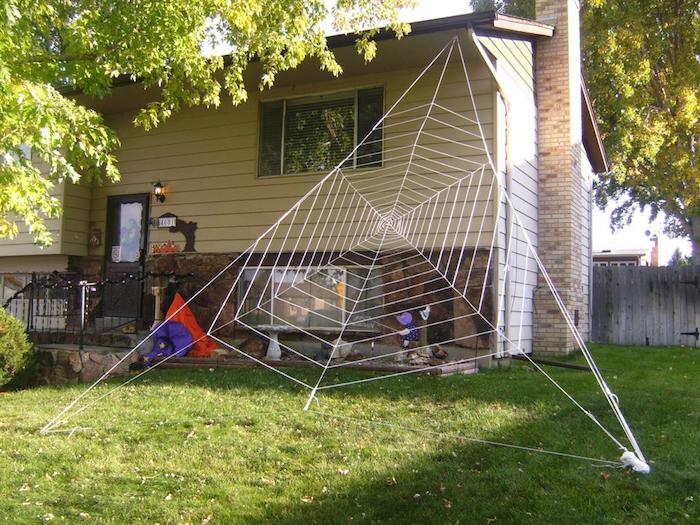
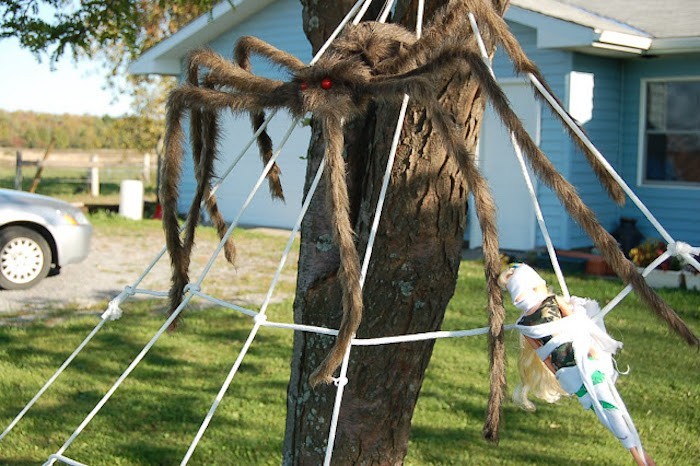
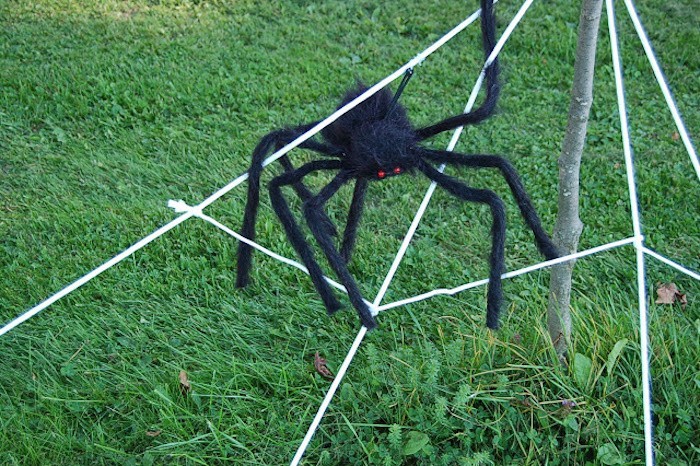
If you need a large spider web for the garden, this crafting idea is the perfect one for you. Here is a large artificial spider for the ultimate scary effect. You can also wrap little dolls or toys in white fabric and put them on the net – for an even more gruesome effect.
Halloween can come with such a scary spiderweb in the garden
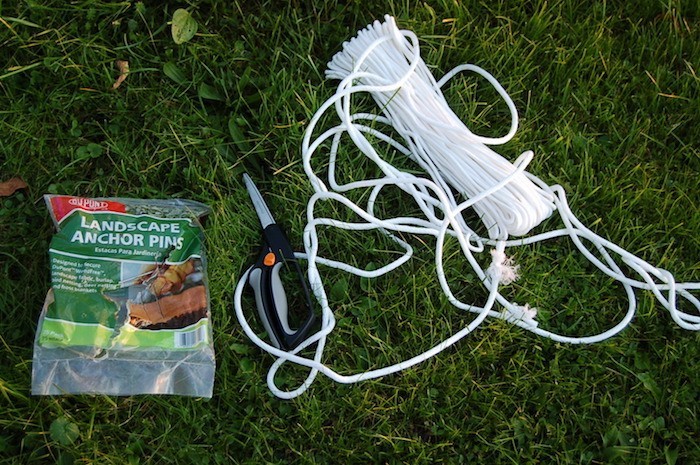
You need these materials and tools for your DIY project
As a base for a smaller spider web such a tree would be just perfect
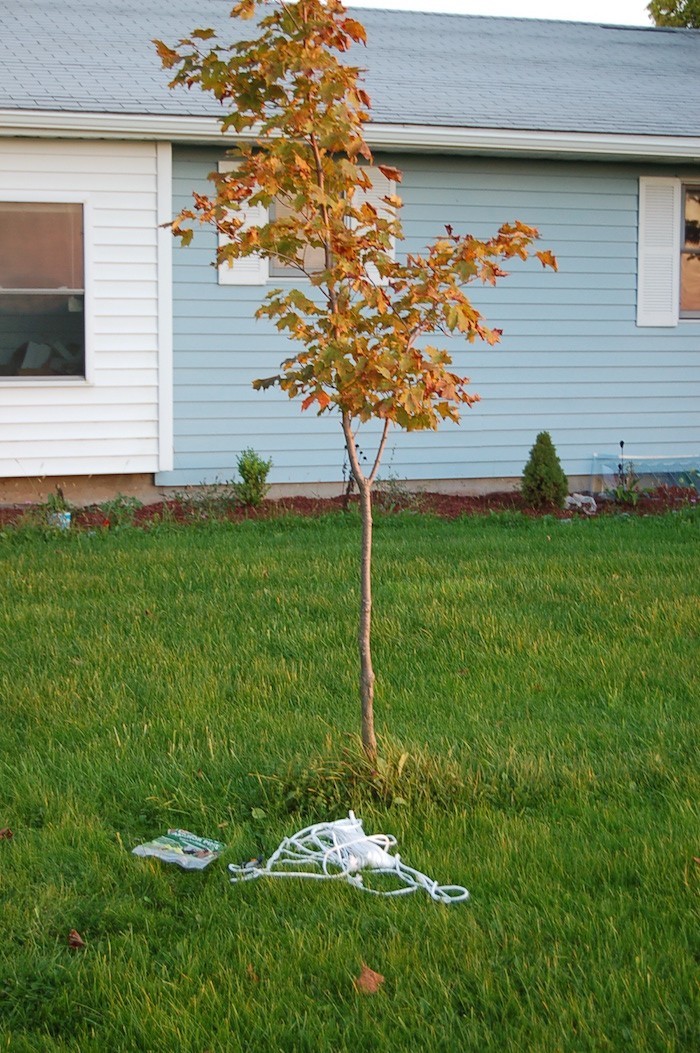
First make a loop from a smaller piece of string and tie it to the tree
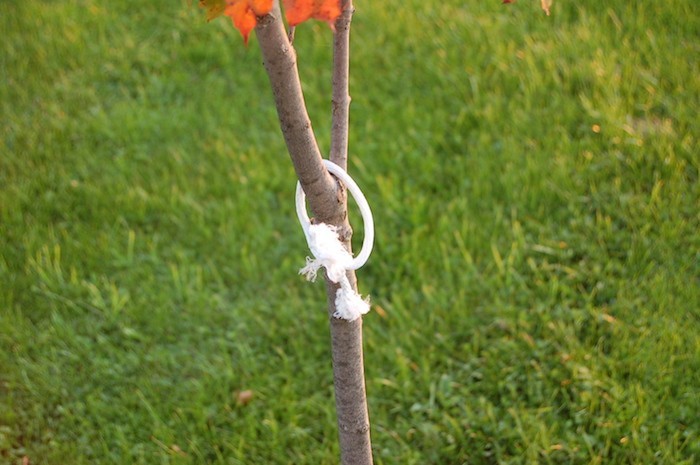
Then pull the cord through the loop and attach each of the ends to the floor with a pin
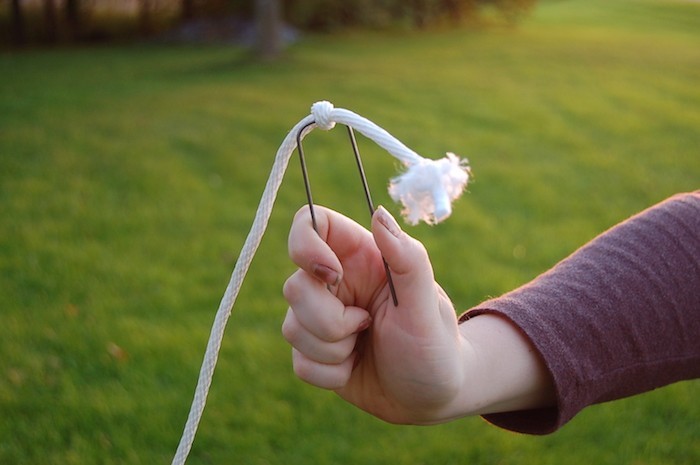
So the first triangle of the spider web is finished
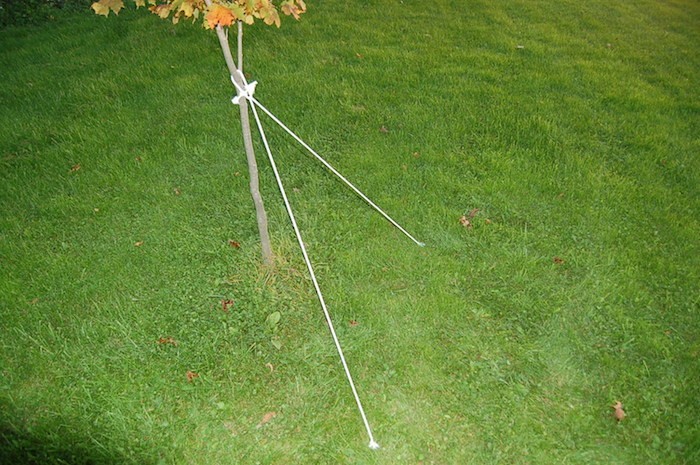
You can still make one, two or more triangles in this way
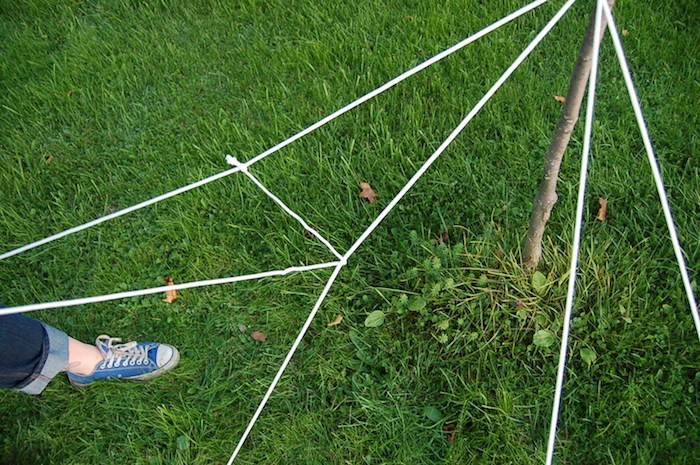
Successively connect the longer pieces of string across with smaller ones, as shown below
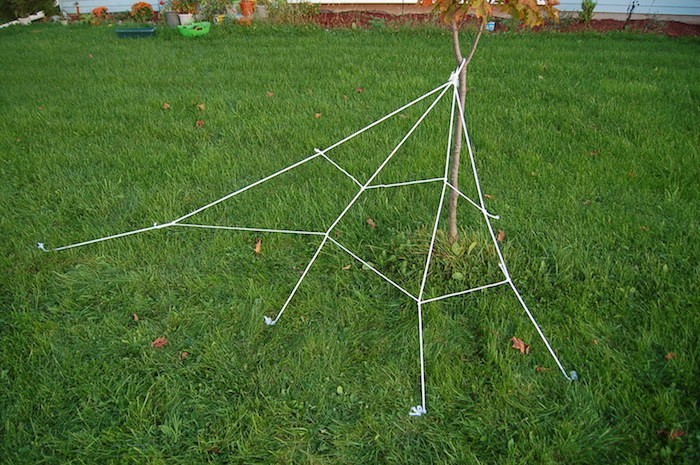
It could soon look like that in your garden
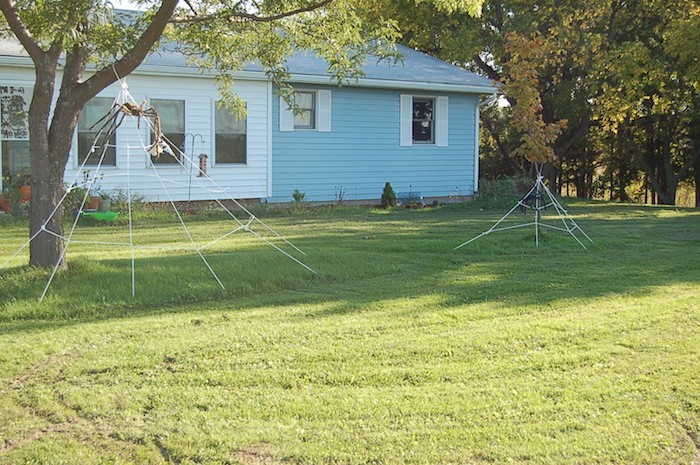
Here you also need a fluffy spider
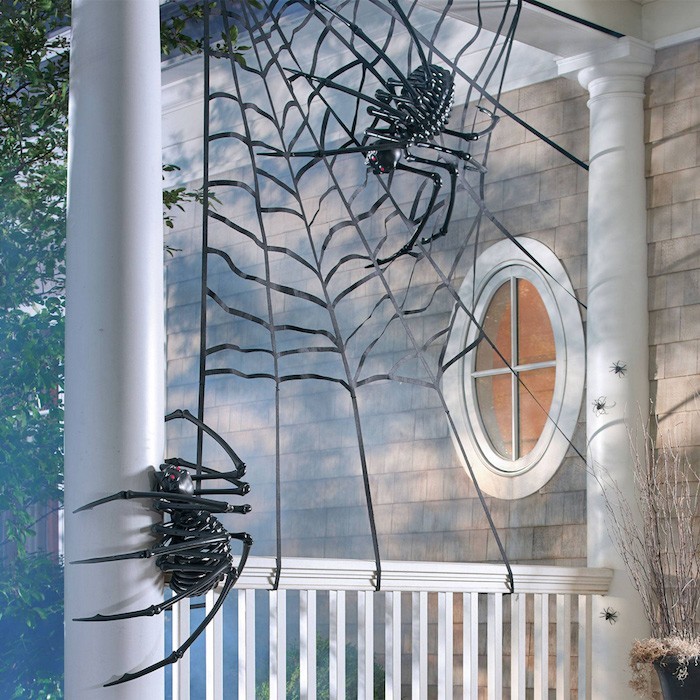
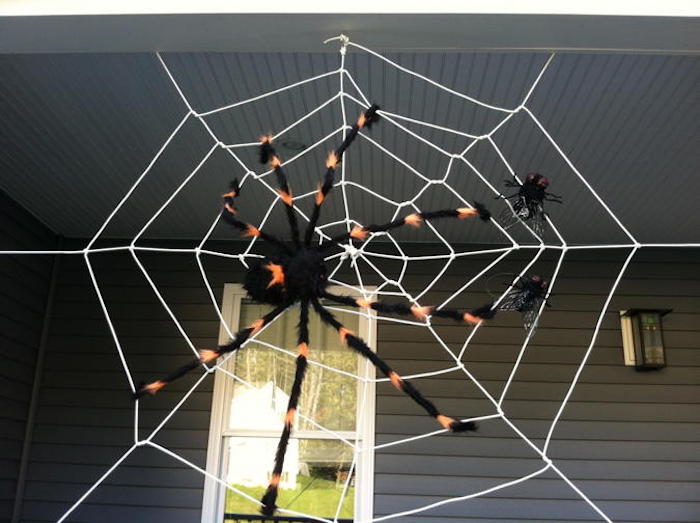
And a lot of great ideas for home-made cobwebs for inspiration
