Gluing kitchen cabinets – How to renew old kitchen fronts
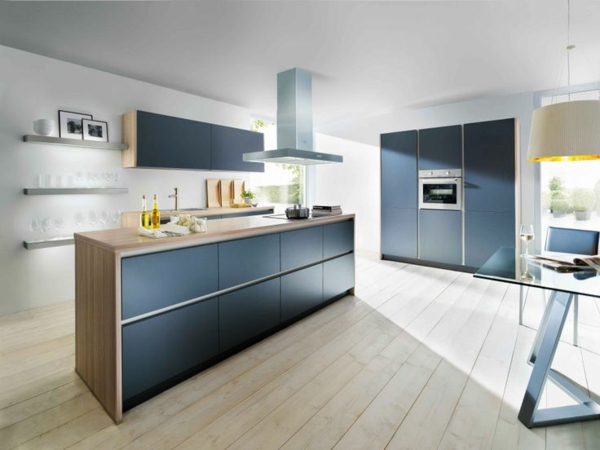
Self-adhesive films conjure up a great effect in the kitchen
Old kitchen fronts need a fresh renewal. If the traces of time are already visible, but your kitchen cabinets are still in good shape, you need a clever solution. Here comes to help the adhesive sheets for furniture, in our case for kitchen fronts.
That would be a cheap way to give your kitchen a new look. We have already introduced you to the alternative. This time, leave the old fronts in place instead of replacing them with a foil of any color nuance.
Glue kitchen cabinets – self-adhesive foils in different shades, matt or glossy
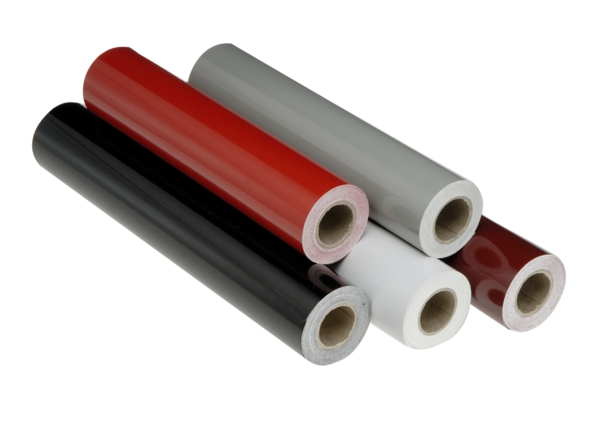
Design films can transform your old kitchen into a modern ambience. Do not believe it, then look at the next example. Who does not know the color pattern of Piet Mondrian? Personally, I’m a big fan of it and would like to design my kitchen that way.
Patterned adhesive film based on Mondrian’s basic principle
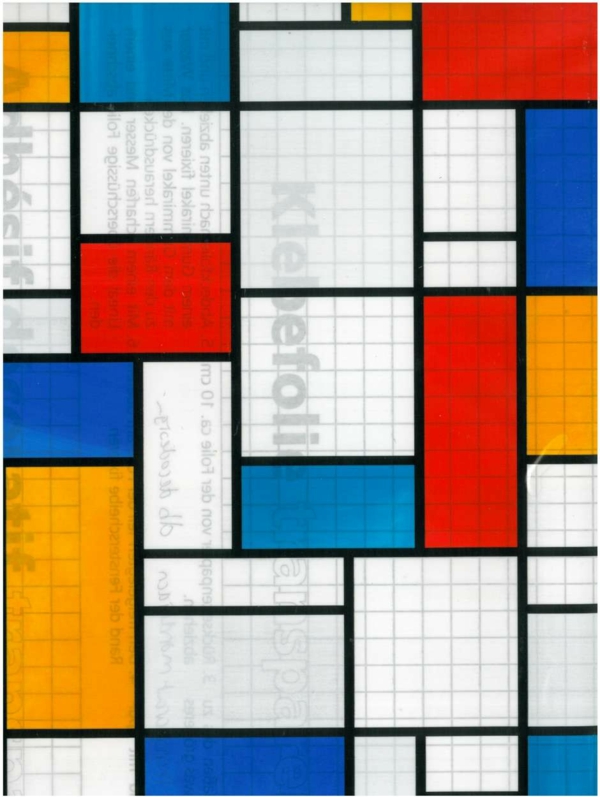
Glue and modernize kitchen cabinets
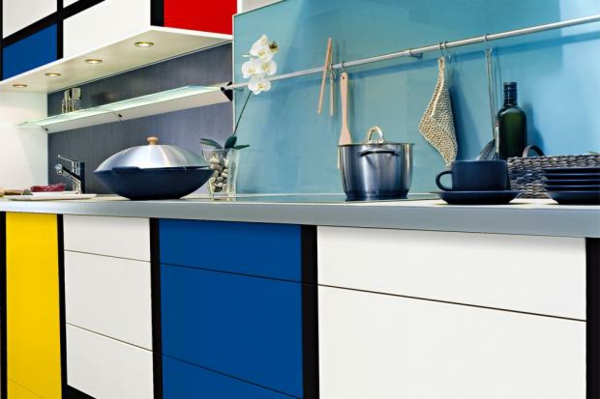
Unique design foils like these can be found here
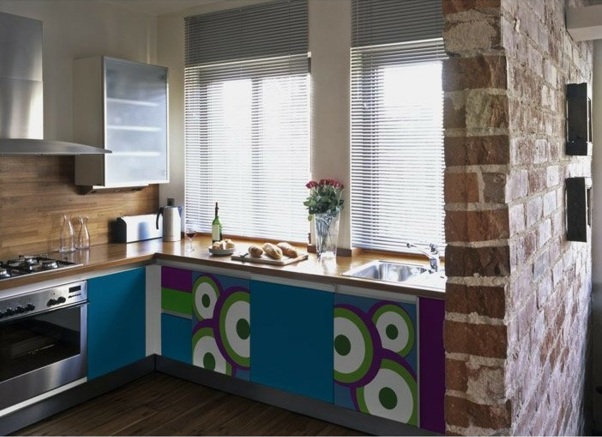
Self-adhesive foils allow you to use Fraba accents and give your kitchen a special charm. Since you decide on the design yourself, you can create a modular configuration to your own taste. Each cabinet door can be covered in a different color (or pattern). For example, you could easily create a checkerboard pattern. On the picture below, the color foils are arranged as desired and glued on. The effect is still impressive.
Design colored kitchen fronts
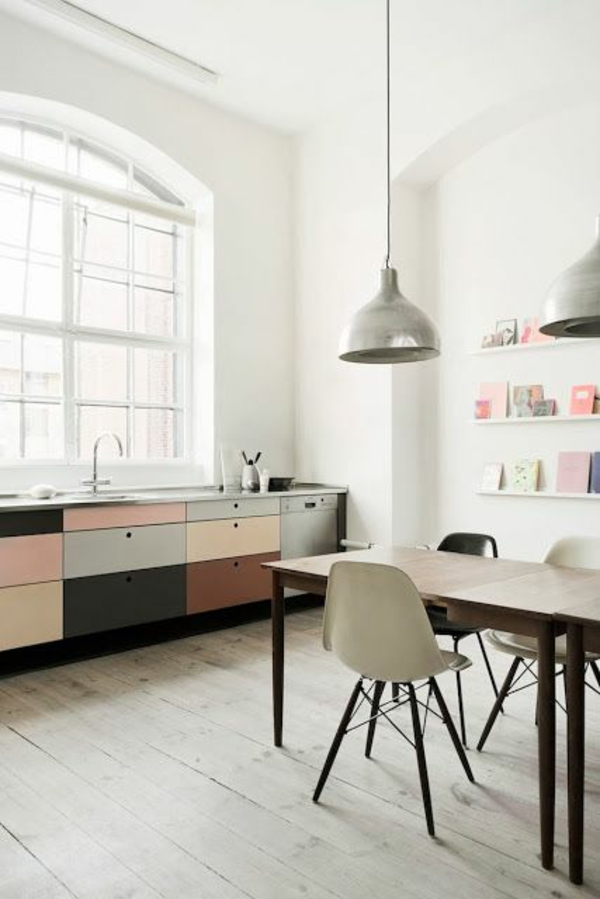
Soft pink or relaxing green, adhesive foils are available in numerous shades


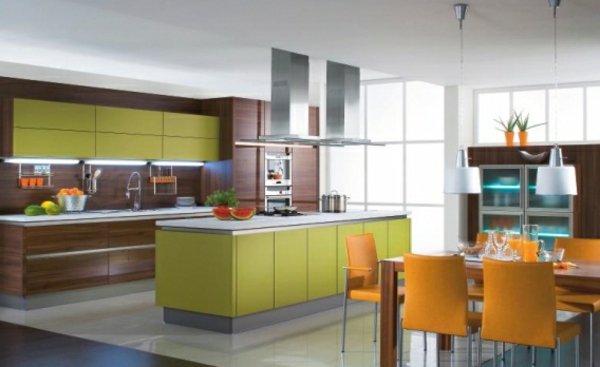
Island kitchen in wood look and fresh color accents in green
Do you think that you are struggling with gluing transparencies? But that’s not correct. You should not be a professional or have a lot of experience to be able to glue adhesive films really well. Of course, it helps if you are handy with your hands, but it is enough to follow the instructions and to act with patience.
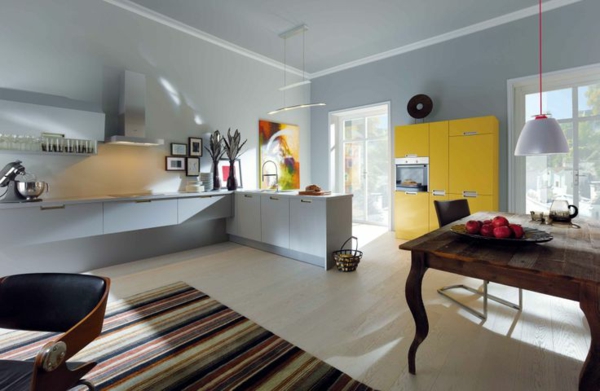
Renew kitchen cabinets with yellow adhesive foil
Step 1 – The kitchen fronts are to be prepared
Be sure to clean the surface from dirt, dust and grease. A commercial cleaning agent will solve the task perfectly. Unscrew the handles of the cabinet doors. It is recommended to dismantle the fronts as well.
2nd step – depending on the type of film, it is also prepared for gluing.
Some slides are made of 2, others of 3 layers. Some are wet-glued and others are not wet-glued. It is best to look for adhesive films with the innovative “bubble-free” technology. Cut the film slightly larger than the front of the cabinet that is pasted.
3rd step – the gluing process
In doing so, the backing paper is peeled off so that the film is gradually glued (piece by piece) without causing air bubbles. If it is not the first time, gently pull the film off to clear the bubble. It says: “Practice makes perfect”
Kitchen cupboards refreshed in color
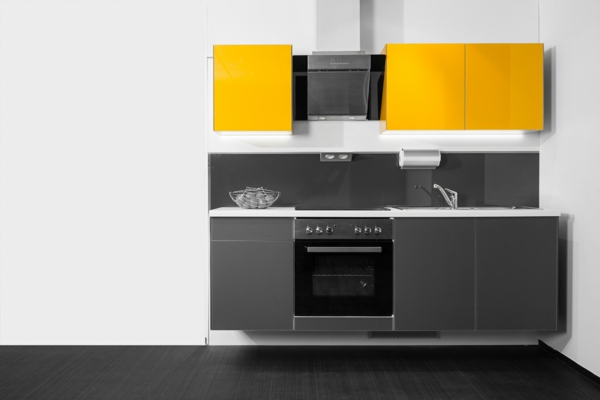
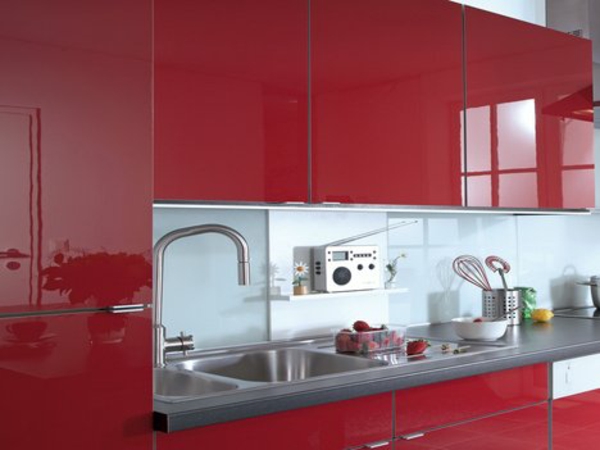
Freshly glued kitchen cabinets in glossy look
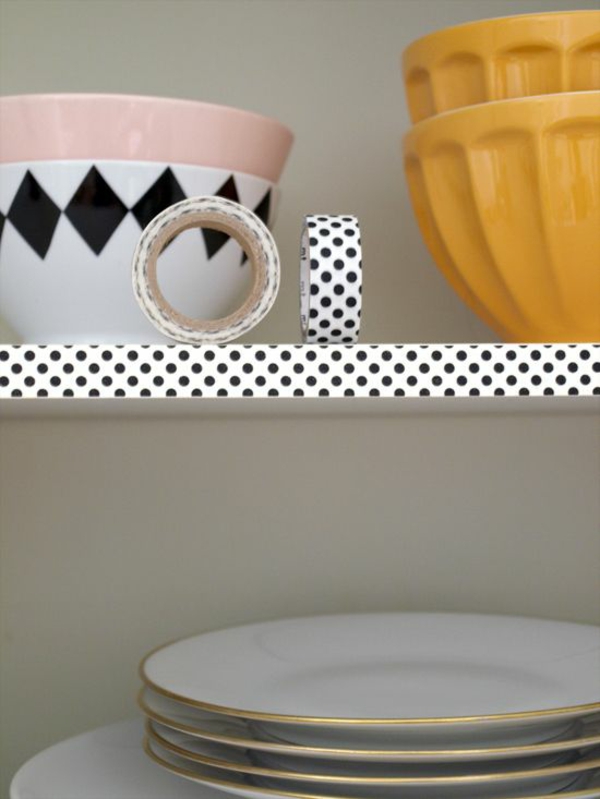
Washi tape in action – another creative idea for old kitchen shelves
Tips and tricks from the experts
