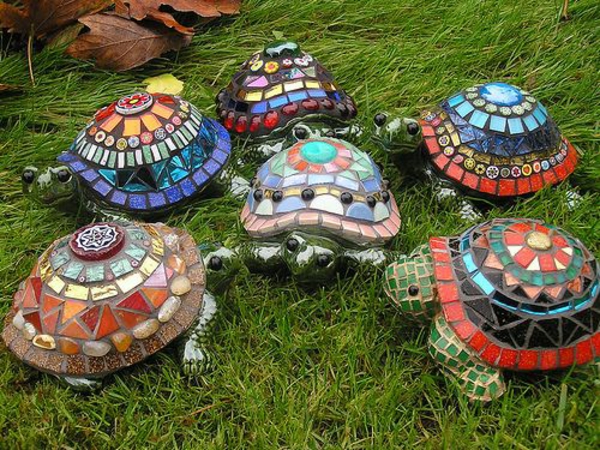
Mosaic tinker – stone mosaic in the garden
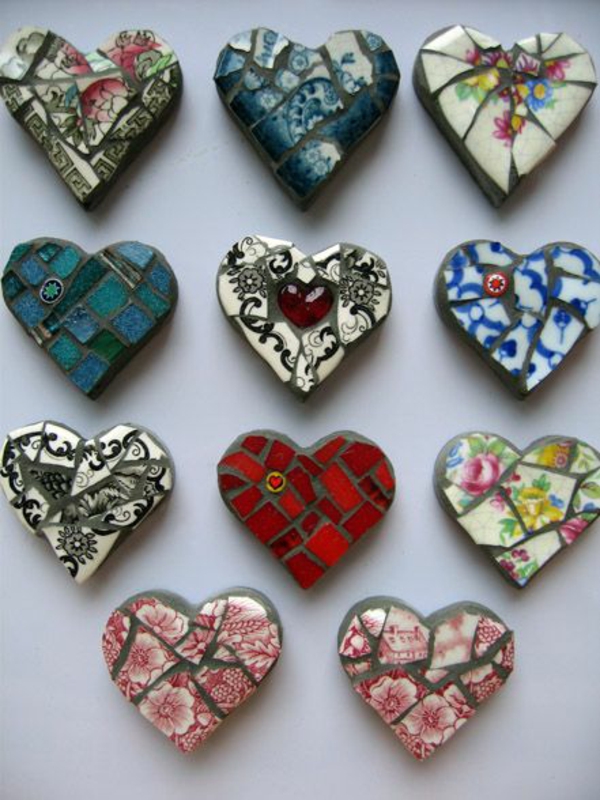
Tinker a wonderful stone mosaic in the garden
Are you jealous of people who have wonderful mosaics in their gardens? Hm, instead of spending your time with such negative emotions, you instantly become creative! Because it is not difficult at all to make a colorful and impressive garden mosaic on your own.
For this you need stones, inspiration, desire, creativity and free time of course …
It’s also a kind of investment. Because afterwards you will experience so much joy and enjoyment that everything in the garden will be easier for you. You will save time and feel more motivated and healthy.
Real works of art
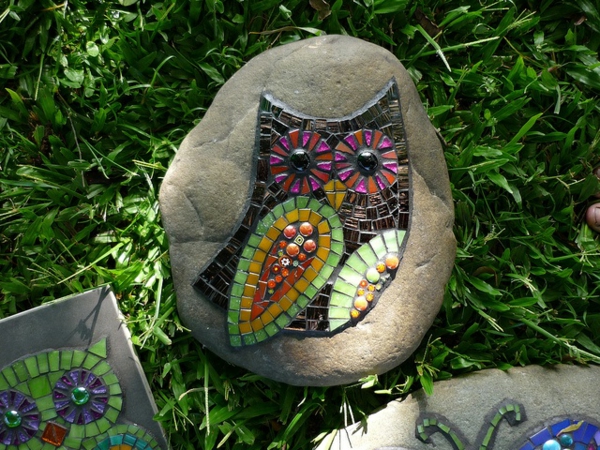
Well, some garden mosaics look like real works of art. They are respectful, we admit that! But their appearance is by no means so unattainable, believe us!
The materials you will need to garden mosaic crafts!
To make a garden mosaic, you need flat boulders. Furthermore, you would have to prepare enough concrete mix. Gravel and fine primer for the base is also necessary.
Step one in mosaic-crafting
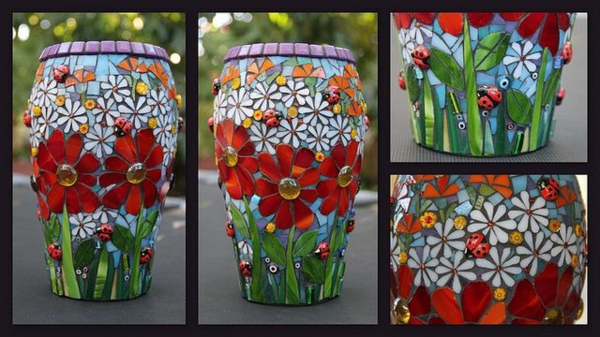
You must first prepare and sort the stones. Decisive criteria are the size and the form. Distribute them on piles and in buckets.
Step two
Now we have arrived at the most exciting part, namely, to make the stone mosaic. To do this, you would first have to distribute sand. About 8 cm, the layer must be thick. Put the stones into the shape that you have chosen for your garden.
Step three – well prepare the site of the project
Keep in mind that the mosaic layer must be slightly higher than the area around it. Otherwise, a lot of water will accumulate on it. Around the mosaic you would have to dig a ditch. It must be about 30 cm wide on both sides and have a depth of about 15 – 20 cm.
Step four – moisten the concrete mix
With the garden hose or another device you should now moisten the concrete mixture. They are finished when it turns from dust to crumbling.
Step five – draw the shape of the mosaic on the concrete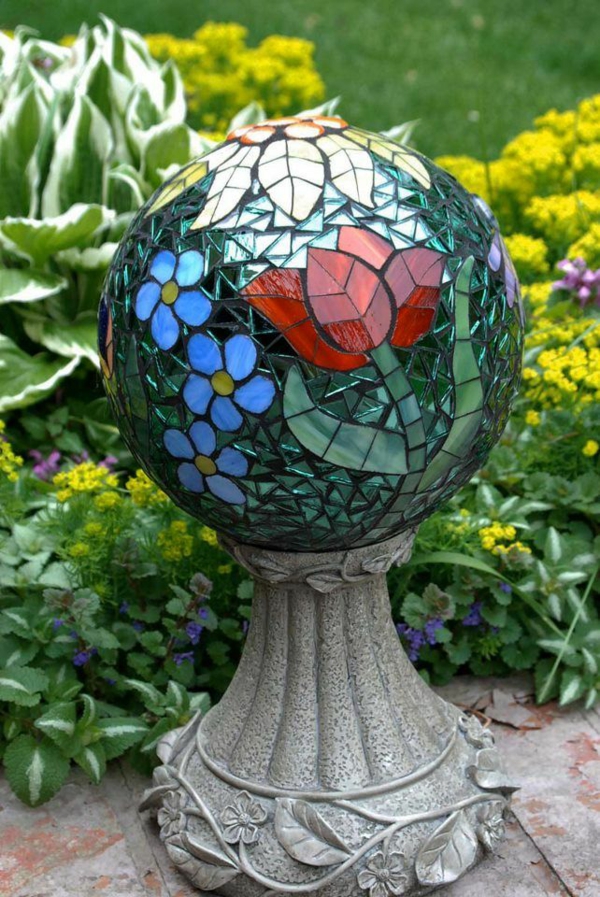
If you want to achieve a circular shape, then a sequencing could be very helpful. At each end you put nails. Reduce the length of the circle radius. The one nail should be there where you want to put the center. Then spread and draw the circle.
Step six – put a stone in the middle
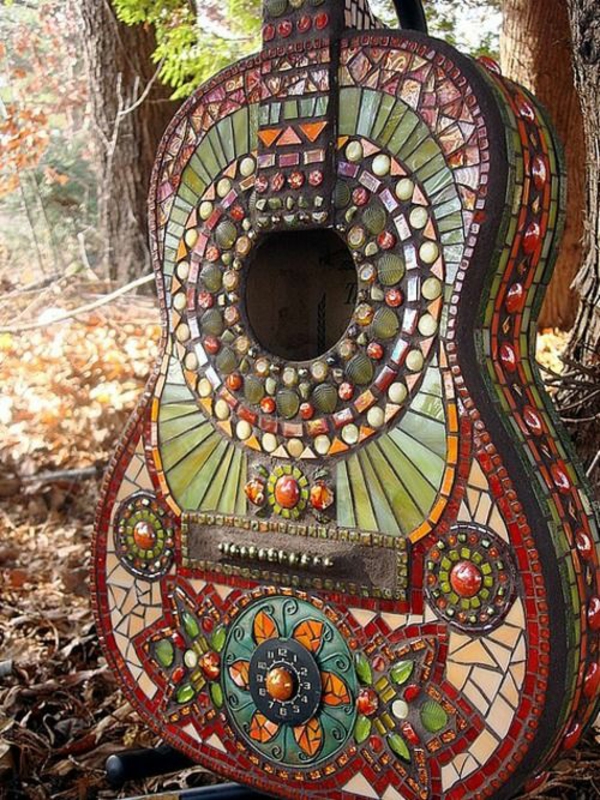
You now have to place the stones one after the other in the concrete mix. Start in the middle. Put the first stone and press it briefly until it stops. The others are based on this. Continue working to the limit.
Step Eight-Let the mosaic dry well
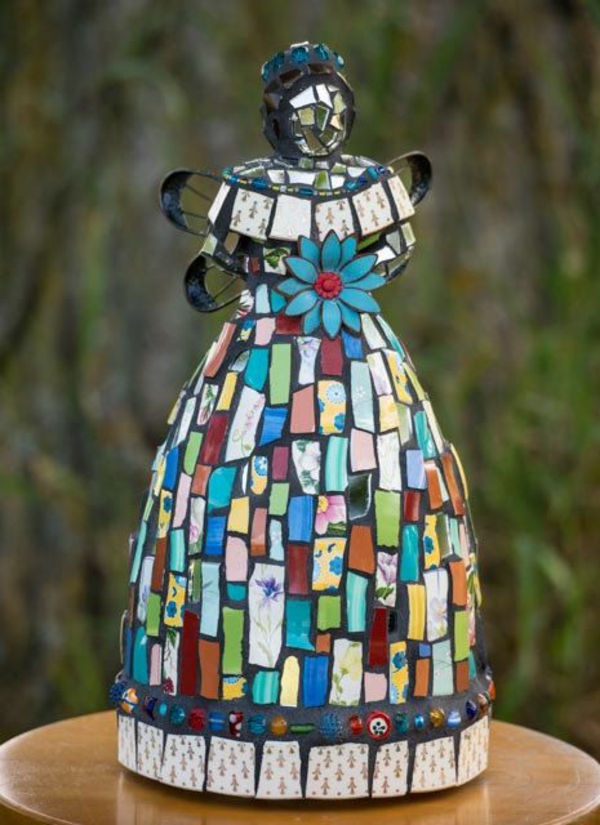
Everything looks good now. In order for you to keep these wonderful pictures that way, you would have to stay that way for a while. It is best to cover it with a plastic cover. This protects the mosaic from moisture. You would have to be patient. For the complete attachment you would have to wait a few weeks depending on the weather, in some cases.
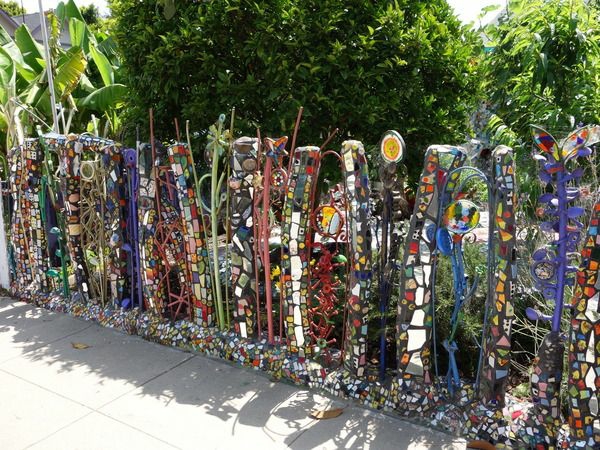
Garden fence with mosaic accents
Garden bench without backrest 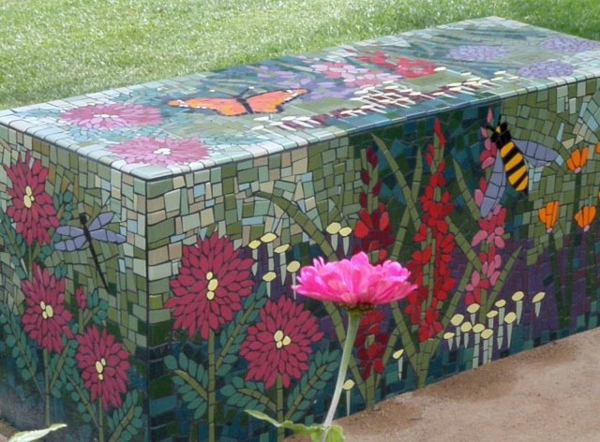
Old garden chair transformed into a flowerpot

Decorative wood panel with mosaic 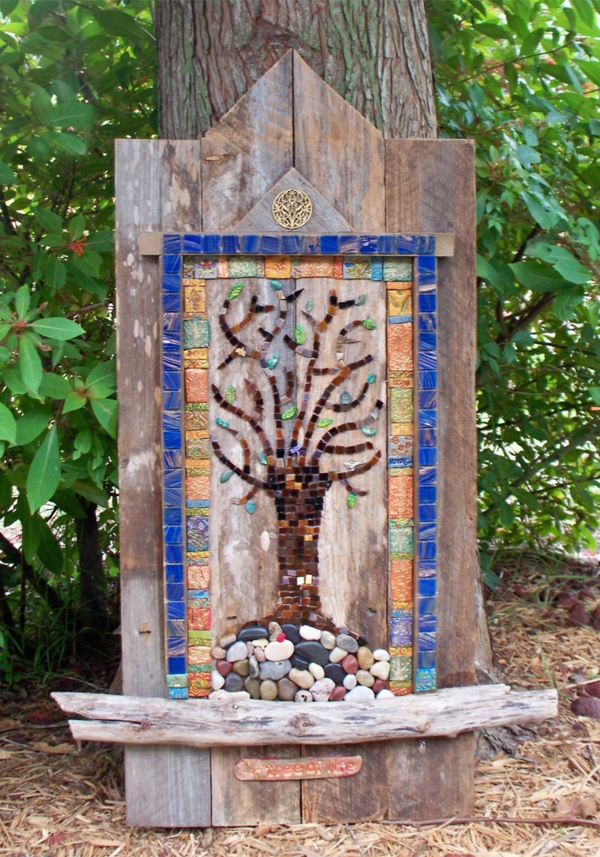
Concrete ball stuck with mosaic glass

Birdhouse with a facade made of glass doused 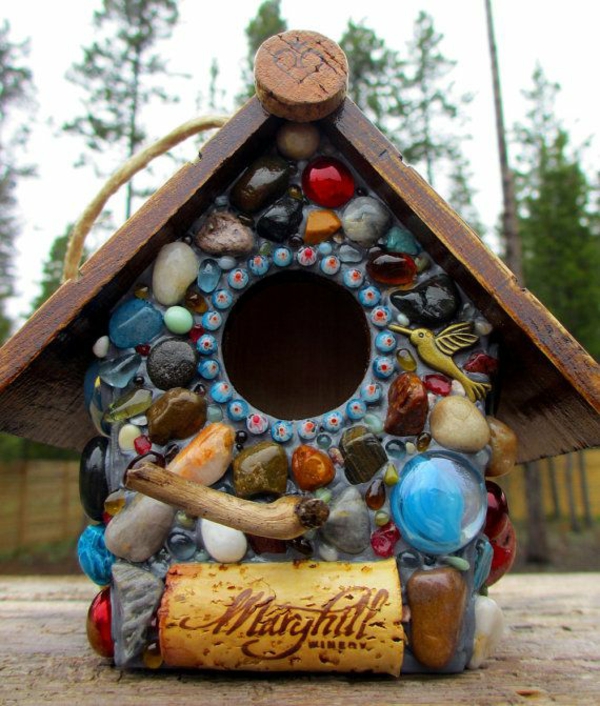
Playfully crafted birdhouse

Tree trunks as a stool 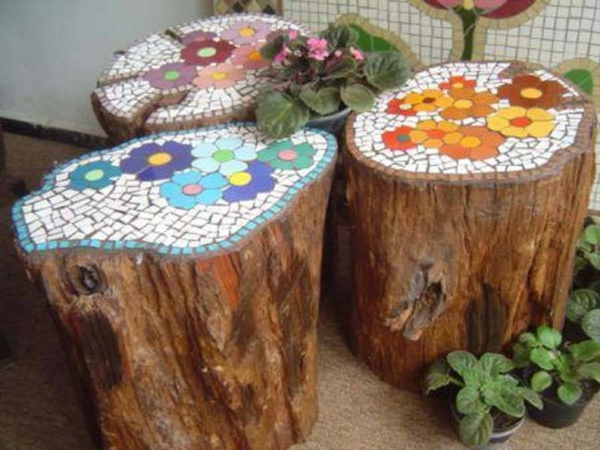
Magnificent dragonfly made of decorative stones
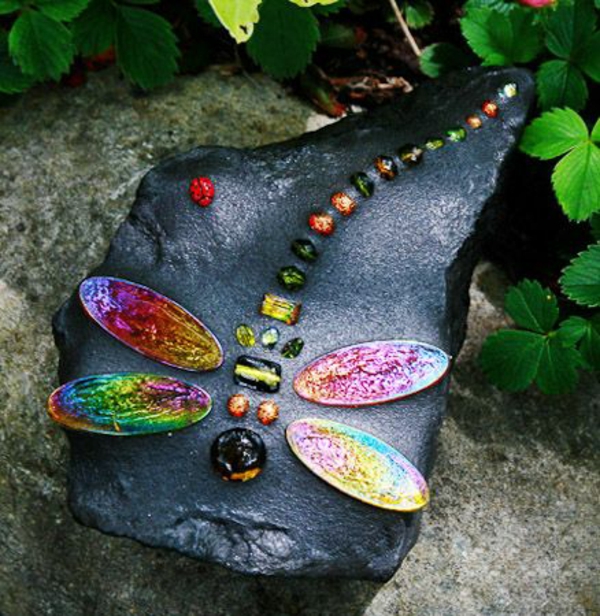
Garden decoration of mosaic
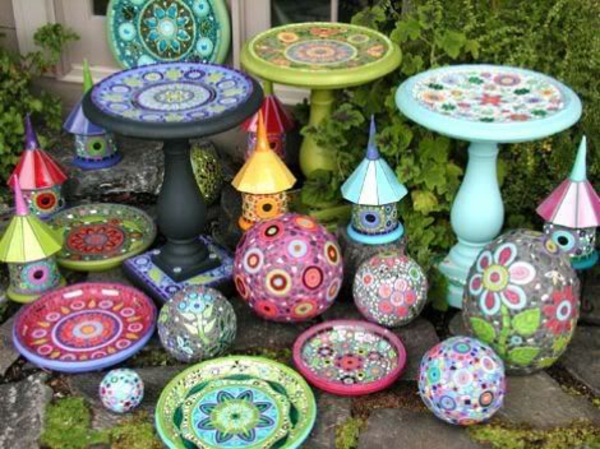
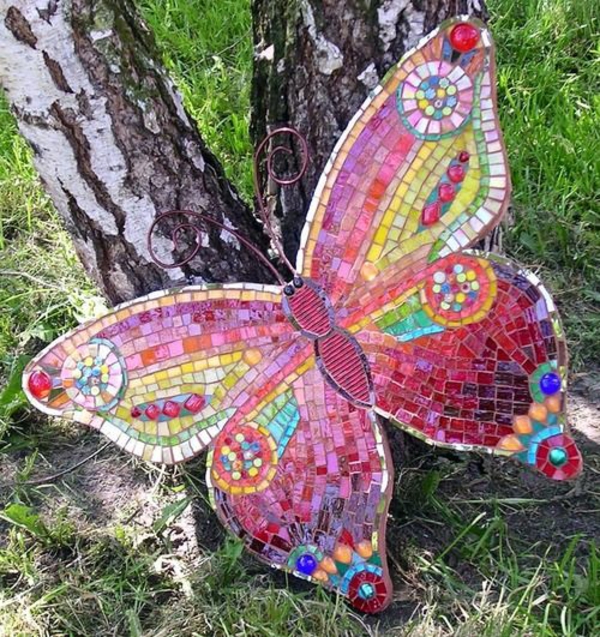
Cute butterflies
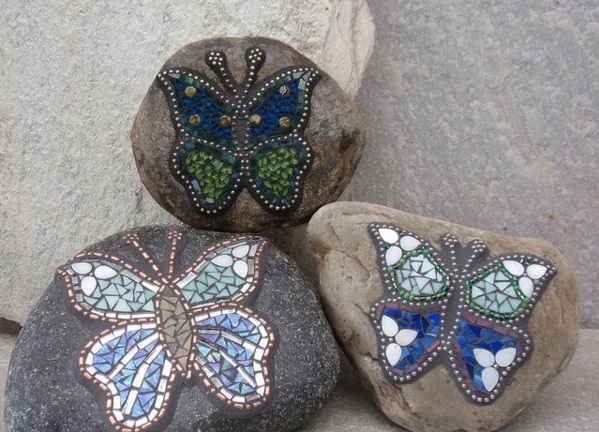
Blue Frog – mosaic artwork
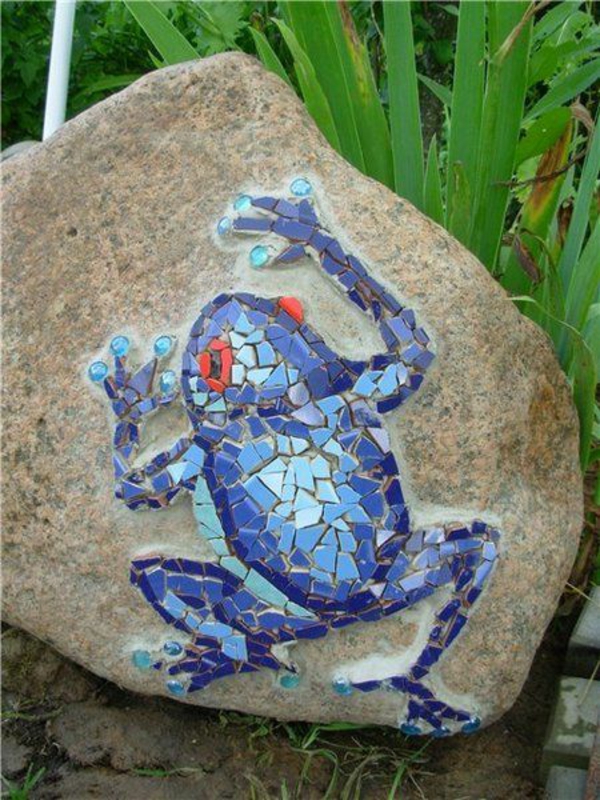
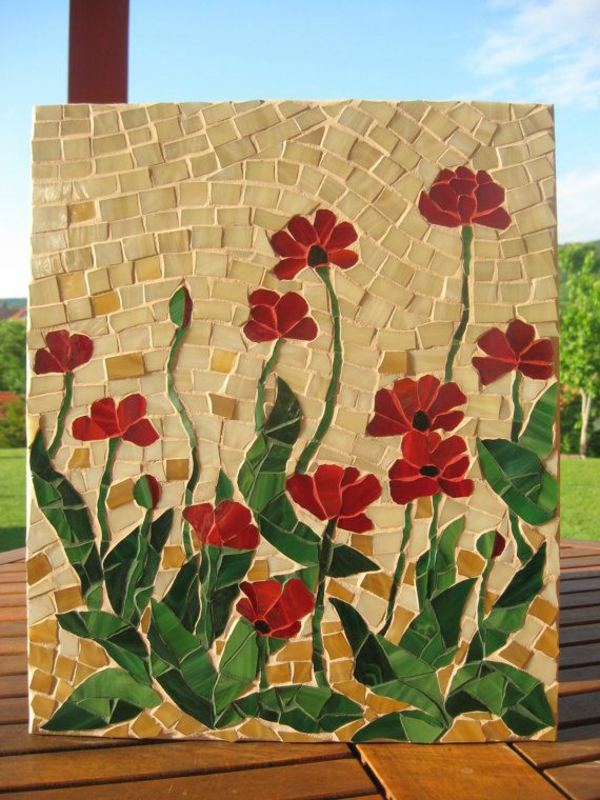
Red flowers on a tile

Entrance decoration of balls 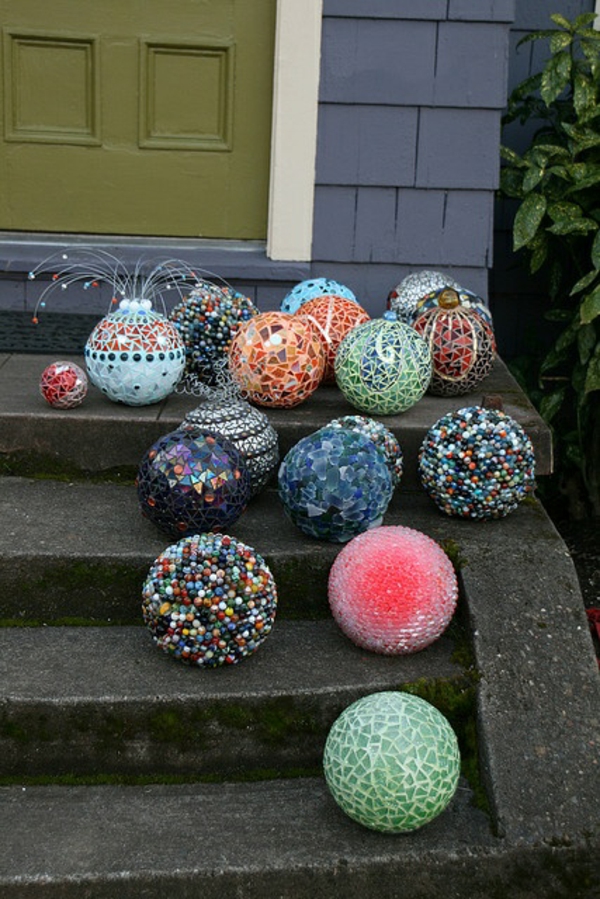
Great owl in black

Precisely crafted birdhouse
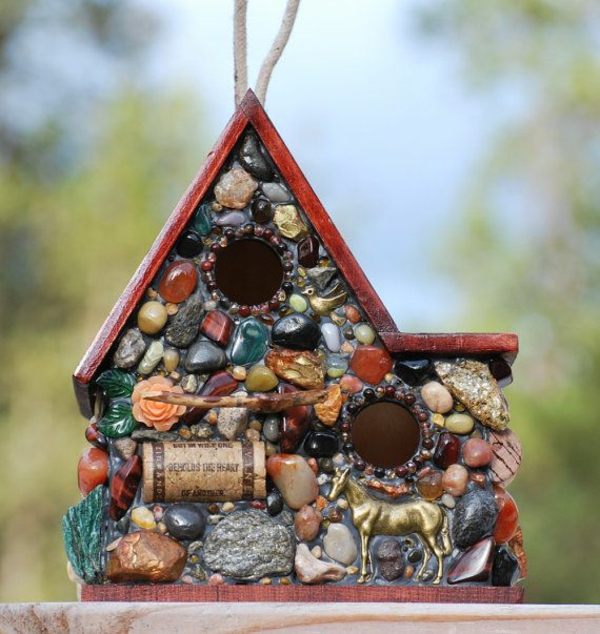
Finished with corks
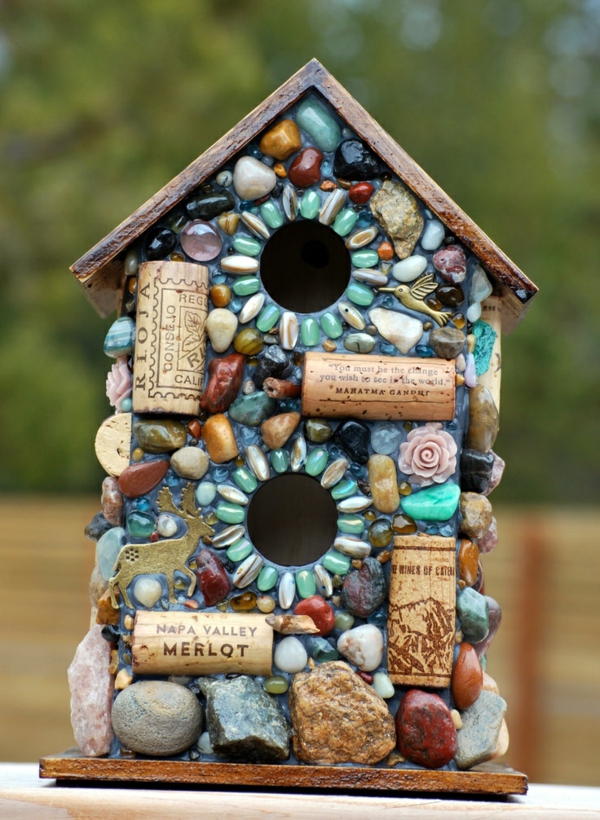
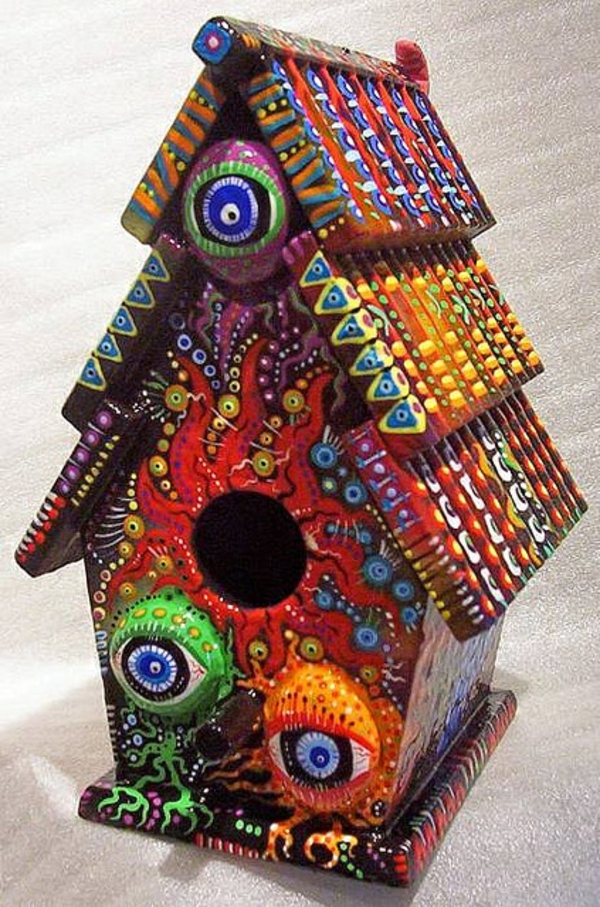
Concrete garden bench with mosaic stones
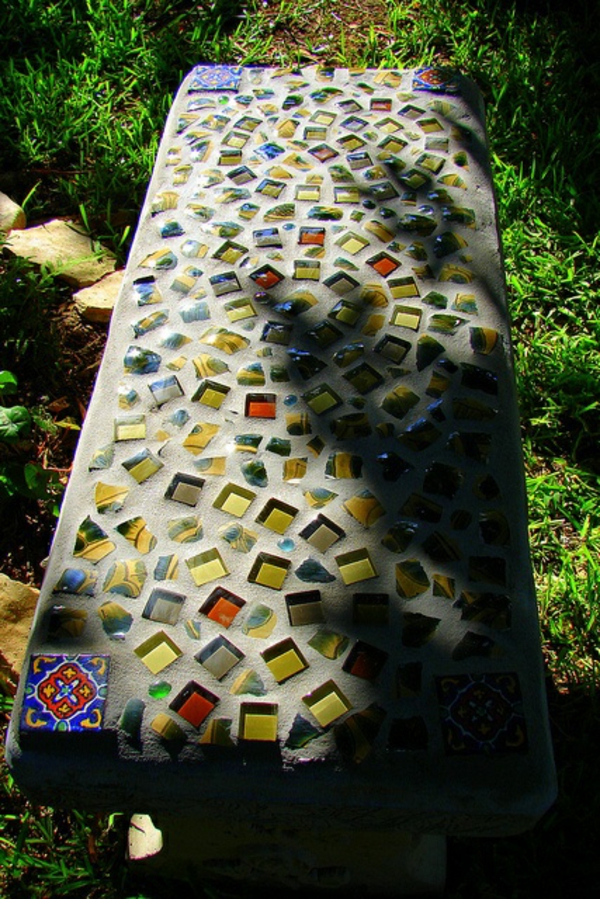
Blue beauty
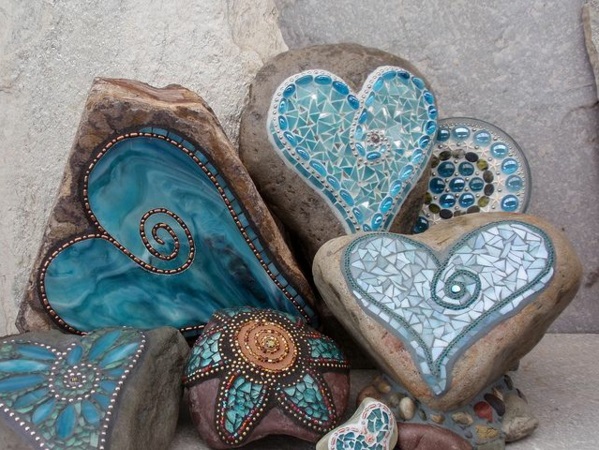
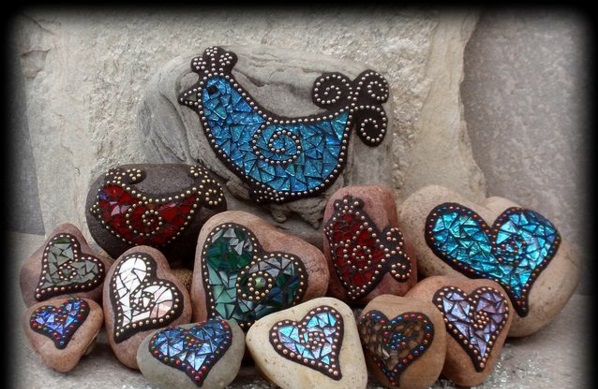
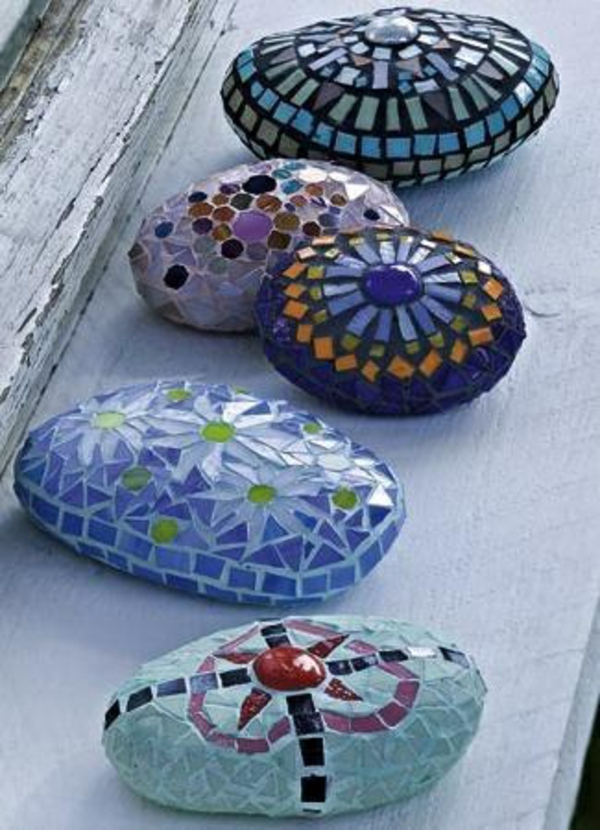
Lovingly decorated boulders
Life size columns with mosaic pieces pasted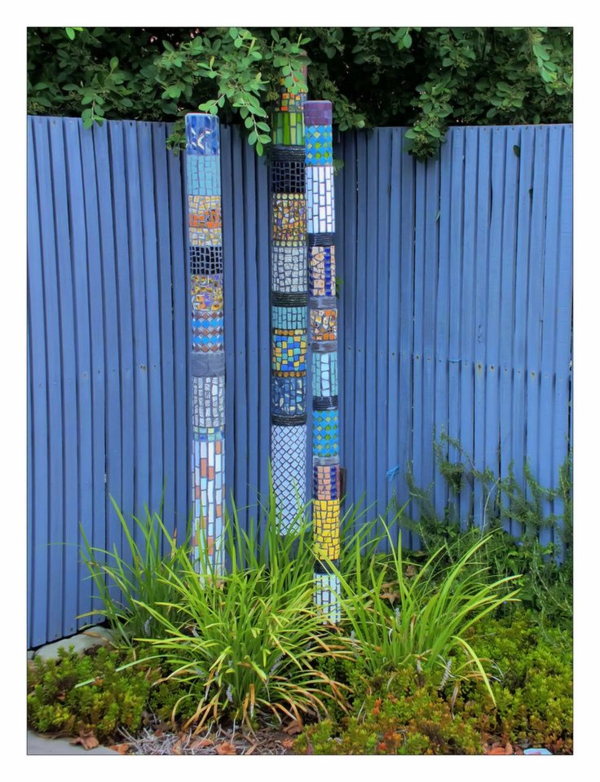 Garden tools to artworks

Heart shaped garden decoration
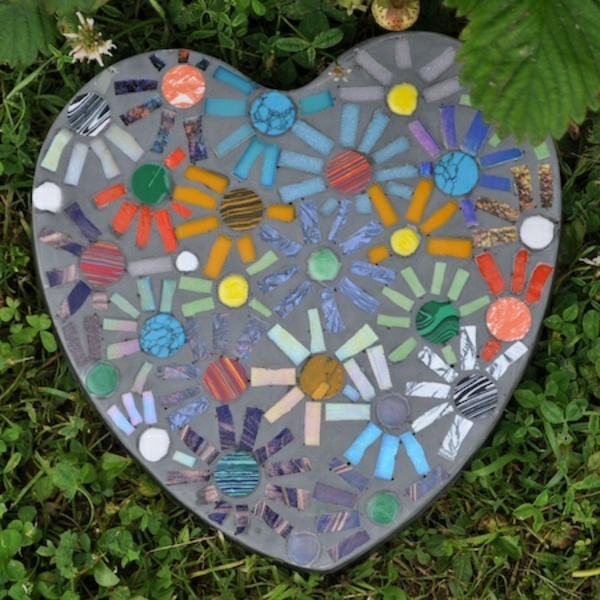
Ornate mosaic hearts 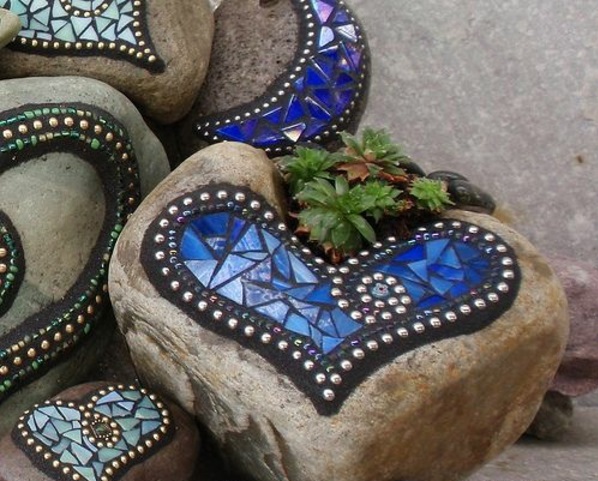
Lovingly and cleverly designed

Mushrooms made of clay
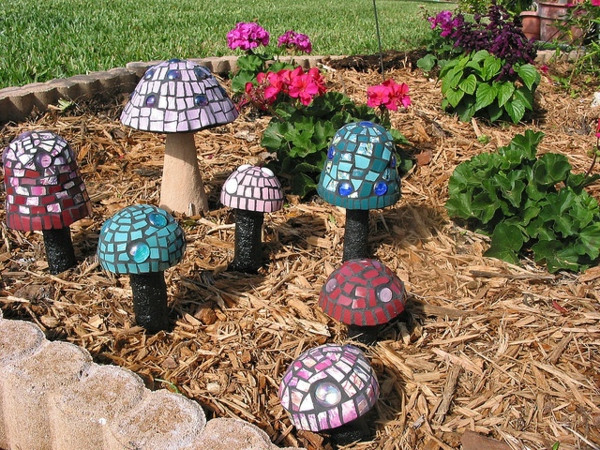
Right jewels 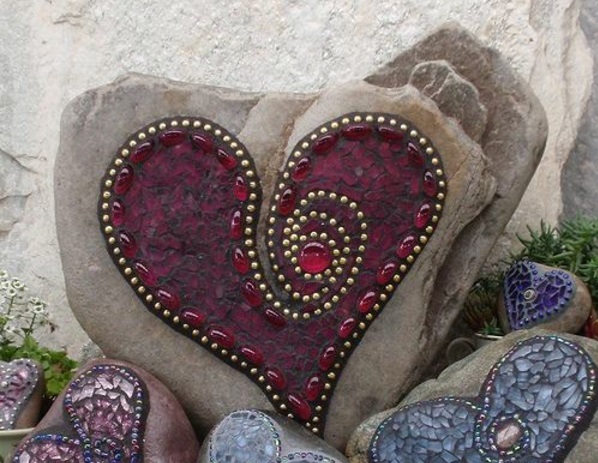
Whole garden wall with mosaic pieces pasted
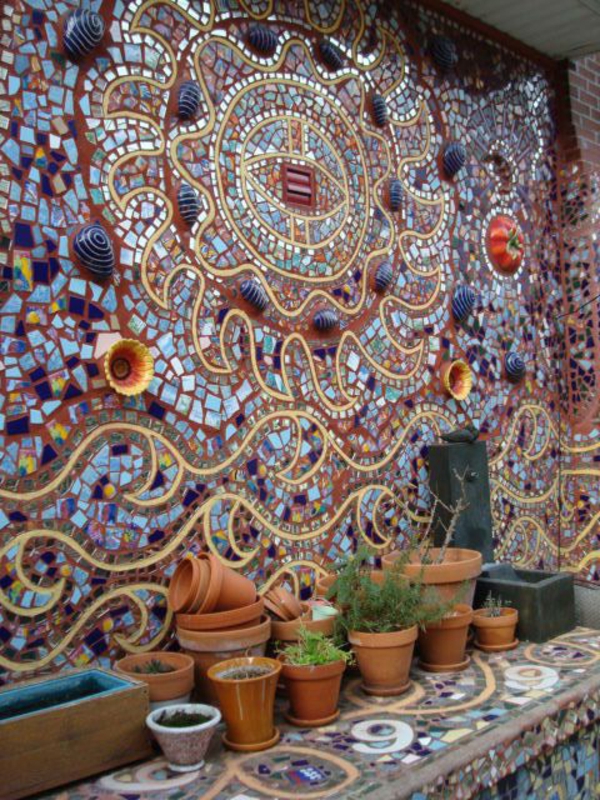
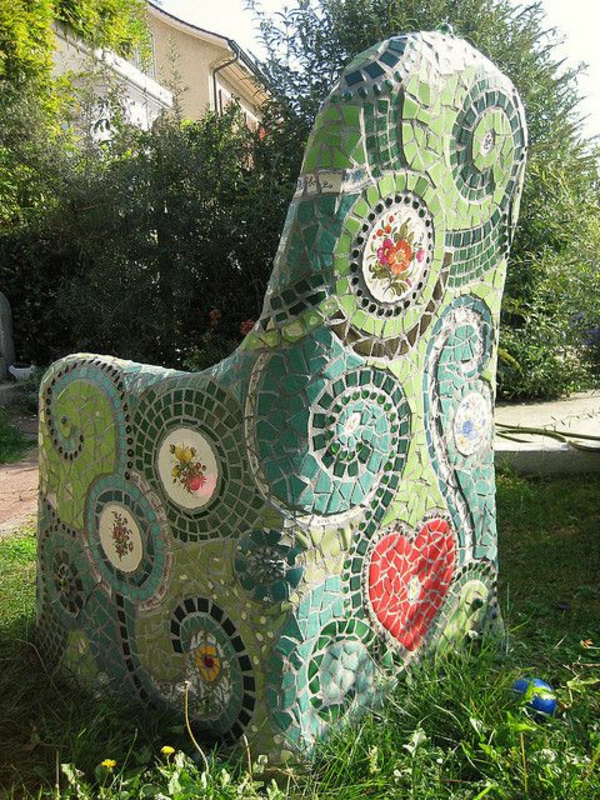
Concrete garden chair
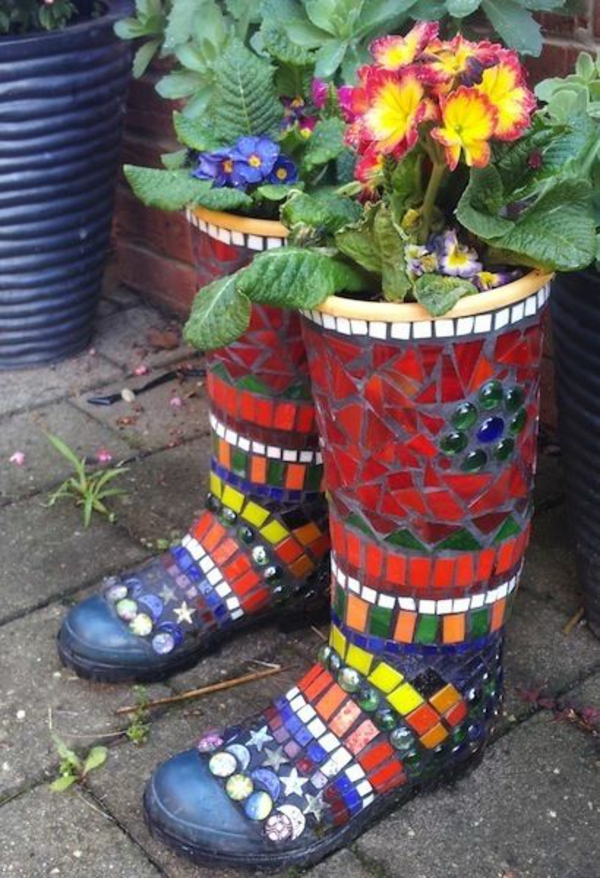
Thematically decorated garden boots
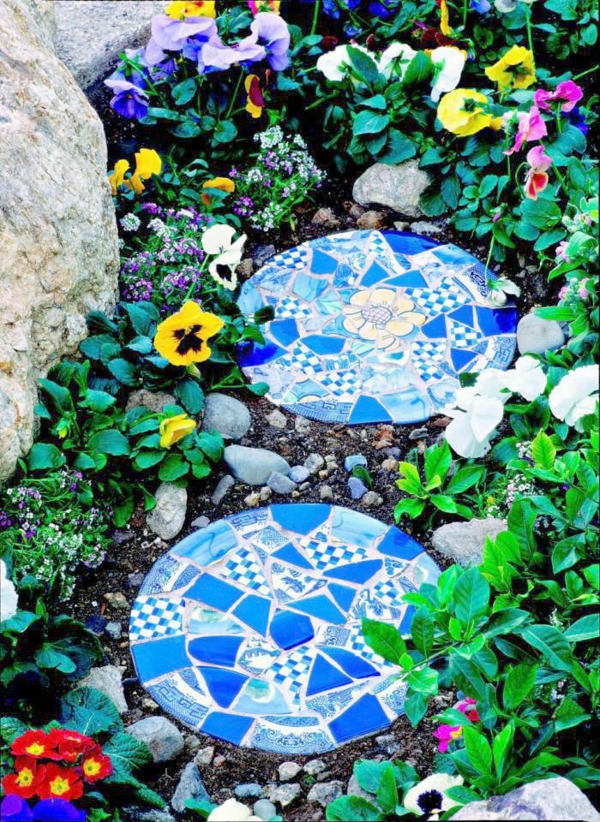
Footpath plates decorated with mosaic
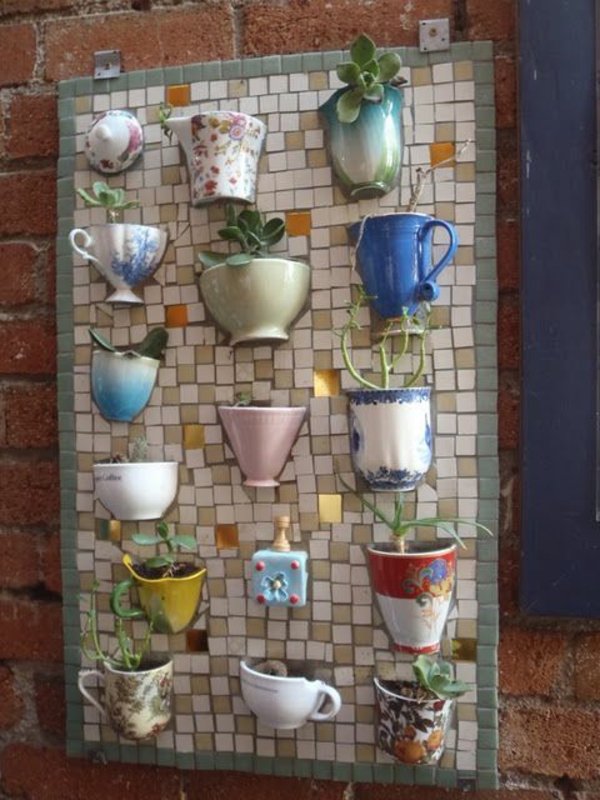
Reused tea cups as a wall decoration
Oversized mosaic turtle
